Dividing hostas is a straightforward process that can help you maintain the size, shape, and overall health of your plants. It’s also a great way to propagate new hostas for your garden. In this step-by-step guide, I will walk you through the process of dividing and transplanting your hostas to ensure successful growth.
Key Takeaways:
- Dividing hostas is a simple and effective way to maintain plant size and shape.
- The best times to divide hostas are in spring or fall, depending on your preference and climate.
- Dividing hostas regularly promotes vigorous growth and prevents overcrowding.
- Choose a shady site with good drainage for planting divided hostas.
- Protect your hostas from slugs by creating habitats for natural predators and implementing slug control methods.
- Mulching in spring helps enhance soil moisture and prevents weed growth around hostas.
When to Divide Hostas: Best Time for Successful Division
Dividing hostas is an essential technique to maintain the health and vitality of these beautiful plants, as well as propagate new ones for your garden. The timing of hosta division plays a crucial role in the success of the process. Generally, hostas can be divided in both spring and fall, each offering its own advantages based on your climate and personal preference.
Dividing Hostas in Spring
In the spring, you can start dividing hostas from the moment you first spot their “eyes” popping up through the soil. This period typically lasts until the leaves begin to unfurl, giving you approximately a month to carry out the division process. Dividing hostas in spring allows the plants to benefit from the active growth phase, ensuring they have ample time to establish themselves before winter arrives.
When dividing hostas in spring, it’s important not to fret if a few leaves get damaged during the process. Simply remove any injured leaves as needed without worry, as the hostas’ vigorous growth habit will quickly replenish them.
Dividing Hostas in Fall
In fall, the best time to divide hostas is just before freezing weather sets in. It is recommended to wait until night temperatures have cooled but still allow enough time for the divisions to develop new roots before winter arrives. In cooler climates, September is usually the optimal month for fall division, while warmer zones may find October more suitable.
Dividing hostas in fall provides a unique advantage for divided plants. With the cooler temperatures and reduced growth rate, the divisions have a chance to establish their root systems and prepare for the following spring’s growth. This early head start ensures the hostas are well-prepared to thrive once spring arrives.
Whether you choose to divide hostas in spring or fall, it’s essential to follow proper hosta propagation techniques to ensure the success of your divisions. In the next section, I will outline the step-by-step process for dividing hostas, guiding you through each stage of this rewarding endeavor.
How to Divide Hostas: Step-by-Step Process for Successful Splitting
To divide hostas, start by watering the plant thoroughly to reduce stress. This will help prepare the plant for the division process.
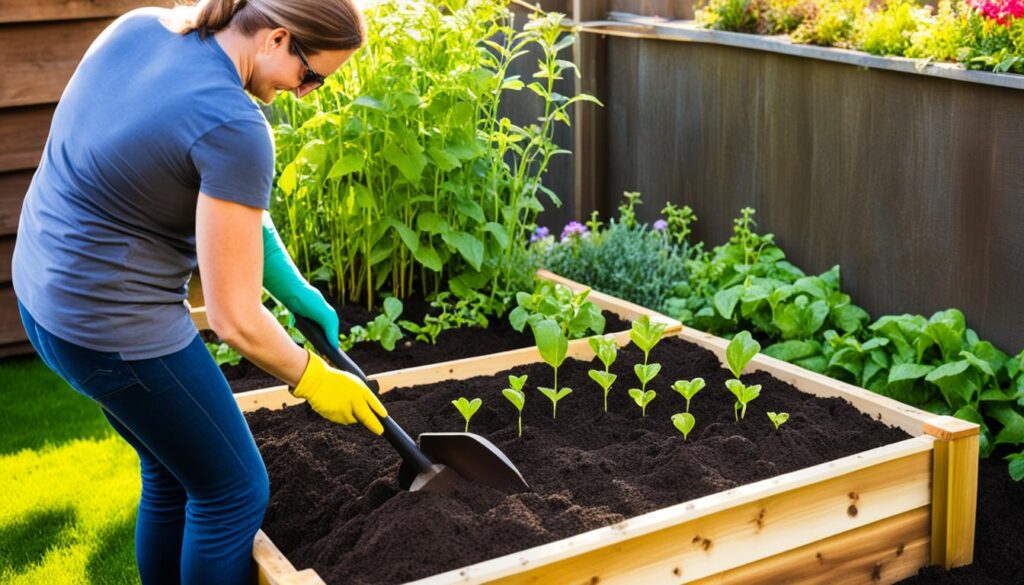
Next, using a spade or garden fork, carefully dig up the entire clump of hosta. Make sure to dig six to eight inches outside of the crown of the plant to avoid damaging the roots.
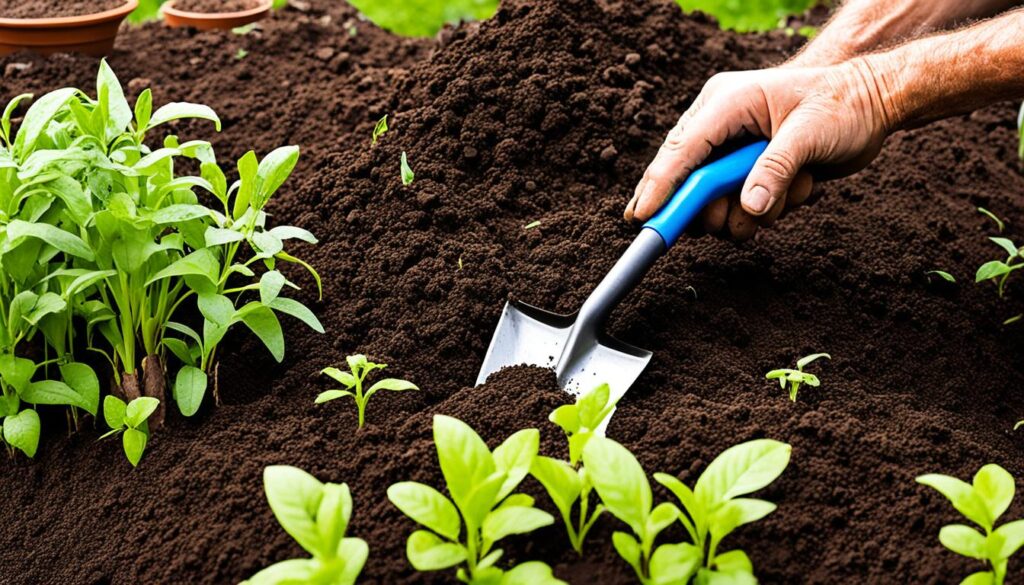
Once the clump is out of the ground, gently remove excess soil from the root ball. This will make it easier to handle and divide the clump into smaller sections.
Using a sharp spade or garden knife, carefully cut the clump into smaller sections. Each section should contain at least one “eye” (bud) and plenty of roots. Take your time and make clean cuts to ensure the divisions are healthy.
After cutting the clump, inspect the divisions for any broken roots, damaged leaves, or dead foliage. Remove any of these undesirable parts to promote healthy growth.
Place the divisions in a bucket of water for a few minutes before planting. This step will ensure that the divisions are properly hydrated and ready for transplantation.
Now it’s time to prepare the new planting holes. Select a shady site for your hostas with good drainage. Incorporating compost into the soil will provide the necessary nutrients for the plants to thrive.
Set the divisions in the holes at the same depth they were growing before. Fill the holes with soil, making sure to eliminate any air pockets. Press the soil gently around the divisions to secure them in place.
Pro tip: to maintain the health of your hostas, it’s important to remember that they prefer moist but well-drained soil, so be mindful of their watering needs.
Once the divisions are planted, give them a good watering. This will help settle the soil and ensure that the divisions are properly hydrated for their new growth.
Remember, dividing hostas is a rewarding process that allows you to expand your garden and keep your plants healthy. By following these step-by-step instructions, you can successfully divide your hostas and enjoy their beauty for years to come.

How Often to Divide Hostas: Maintaining Vigorous Growth
While hostas can go for years without being divided and continue to grow larger, dividing them regularly every four or five years is essential for their vigorous and healthy growth. Dividing hostas not only promotes their overall health and appearance but also prevents overcrowding, allowing each plant to thrive.
Dividing hostas regularly has several benefits. Firstly, it helps maintain the vigor of the plants by rejuvenating them and stimulating new growth. Secondly, it prevents overcrowding, which can lead to stunted growth and decreased flowering. By dividing hostas, you create more space for each plant to receive adequate nutrients and sunlight.
Dividing hostas regularly is like giving them a breath of fresh air, allowing them to flourish and reach their full potential.
By dividing hostas every four to five years, you can also propagate new plants for your garden. Each divided section with its own “eye” (bud) and roots can be potted or planted elsewhere, expanding your hosta collection and adding variety to your landscape.

Hostas that are not divided for an extended period can become overcrowded, leading to reduced growth and vigor. Crowded hostas may also be more susceptible to diseases and pests. Regular division helps prevent these issues, ensuring that each plant has sufficient space to grow and thrive.
Remember, dividing hostas is best done in spring or fall, when the plants are dormant or showing new growth. Be sure to carefully follow the step-by-step process for successful division to ensure the health and vitality of your hostas.
Dividing Hostas in Pots: Tips for Successful Splitting
Dividing hostas in pots is a convenient option for gardeners with limited space or those who want to showcase their hostas on patios or balconies. The process of dividing hostas in pots is similar to that of dividing in-ground hostas, with a few adjustments to suit the container environment. Spring division of potted hostas is recommended, as it aligns with the natural growth cycle of these plants.
To divide hostas in pots, follow these simple steps:
- Dig up the clump: Gently remove the hosta clump from the pot, being careful not to damage the roots or foliage. Loosen the root ball to facilitate division.
- Cut into smaller sections: Use a sharp spade or garden knife to divide the clump into smaller sections, ensuring that each division has at least one healthy bud or “eye” and a sufficient amount of root system. This will help ensure successful transplanting.
- Pot up each division: Prepare a mixture of equal parts multi-purpose compost and fine grit. Place each division in its own pot, ensuring that the roots are well-distributed and covered with the compost mixture. Compact the compost gently around the division to secure it in place.
- Water and shelter: After potting up the divisions, give them a thorough watering to settle the soil. Place the pots in a sheltered spot, away from direct sunlight and strong winds, to allow the divisions to establish and grow on.
Here’s an image to illustrate the process:
Dividing hostas in pots allows you to create multiple thriving plants that can be displayed creatively throughout your outdoor space. By following these simple tips, you can achieve successful hosta division and enjoy the beauty of these versatile plants in containers.
Tips for Successful Hosta Division: Ensuring Healthy Growth
To ensure successful hosta division and healthy growth, it is important to follow certain tips. Here are some key steps to take:
- Watering the hosta: Before dividing the hosta, make sure to water it thoroughly. This helps reduce stress on the plant and makes it easier to work with.
- Removing excess soil: When digging up the clump, gently remove excess soil from the root ball. This makes it easier to handle and provides better visibility of the plant’s “eyes”.
- Cleaning and soaking the divisions: After removing the clump, wash off some of the soil to clearly see the “eyes” and avoid injuring them. Also, remove any broken roots, damaged leaves, or weeds sprouting from the remaining soil. Then, soak the divisions in water for a few minutes to hydrate them and improve their chances of successful transplantation.
Following these tips will help ensure that your hosta divisions thrive and grow healthily. Now let’s move on to choosing the right planting site for your divided hostas.

Remember to water the hosta thoroughly, remove excess soil, clean and soak the divisions before planting for successful hosta division and healthy growth.
Choosing the Right Planting Site for Divided Hostas: Optimal Conditions for Growth
When selecting the perfect spot to plant your divided hostas, it’s crucial to take their optimal growing conditions into consideration. Hostas flourish in shaded areas, so it’s essential to choose a location that receives filtered or dappled sunlight. This ensures they get just the right amount of light to thrive.
To create a conducive environment for your hostas, ensure the planting site has good drainage. Hostas prefer moist, well-drained soil, so avoid areas that are prone to waterlogging. To enhance the fertility and moisture retention of the soil, incorporate compost into the planting area. This organic matter will provide essential nutrients to support the growth of your hostas.
After planting the divided hostas, it’s important to water them thoroughly. This helps eliminate any air pockets in the soil and encourages the establishment of their roots. Maintaining proper watering throughout the growing season will ensure your hostas remain healthy and vibrant.
Tips for Slug Control on Hostas: Protecting Your Plants
Slugs can be a common issue for hostas, but there are ways to protect your plants. As a gardener, I have discovered effective methods for slug control that keep my hostas healthy and thriving. When it comes to preventing slug damage, a two-pronged approach is key: creating an environment that supports healthy plant growth and implementing slug deterrent techniques.
Grow Healthy Hostas
To minimize slug damage on your hostas, it’s important to focus on growing healthy plants. Hostas that are strong and robust are more likely to withstand slug attacks. Here are some tips for promoting healthy hosta growth:
- Choose healthy hosta varieties from reputable sources
- Provide adequate sunlight and water
- Ensure proper soil drainage
- Regularly fertilize and feed your hostas with organic matter
By prioritizing your hostas’ health, you create conditions that make them less appetizing to slugs.
Implement Slug Deterrent Techniques
While growing healthy hostas is important, it’s also crucial to employ effective slug control methods. Here are some techniques that I have found to be successful:
- Laying sacrificial comfrey leaves: Slugs are often attracted to the smell and texture of comfrey leaves. By placing sacrificial comfrey leaves around the base of your hostas, you give the slugs an alternative food source and help protect your plants.
- Mulching with grit: Slugs have difficulty moving across coarse surfaces. Mulching the soil around your hostas with grit creates a barrier that makes it challenging for slugs to reach the plants.
- Using beer traps: Slugs are attracted to the smell of beer. Bury a shallow container, such as a yogurt pot, in the ground near your hostas and fill it with beer. The slugs will be lured into the trap and drown.
- Mulching with bran: Spread a thin layer of bran around your hostas. When slugs consume the bran, it expands in their digestive system, causing them to retreat or perish.
- Placing copper barriers: Slugs are repelled by copper. By surrounding your hostas with copper tape or barriers, you create a slug-resistant boundary that they are less likely to cross.
Encourage Natural Slug Predators
In addition to implementing slug deterrent techniques, it can be beneficial to create habitats for natural slug predators. Animals such as toads, frogs, hedgehogs, and birds feed on slugs and can help control their population. Provide shelter, water sources, and food, such as insects and berries, to attract these beneficial creatures to your garden. Encouraging a diverse ecosystem will help maintain a balance between slugs and their natural predators.
By following these tips for slug control on hostas, you can protect your plants and ensure they remain healthy and beautiful throughout the growing season.
Spring Mulching for Hostas: Enhancing Soil Moisture and Weed Control
In the springtime, when your hostas are starting to emerge from their winter slumber, it’s the perfect opportunity to implement spring mulching in your garden. Mulching is a simple yet effective way to enhance soil moisture retention, prevent weed germination, and maintain the overall health and appearance of your hostas.
For the best results, apply a thick layer of organic mulch around your hostas and throughout your beds and borders. Organic mulch, such as shredded bark, compost, or straw, not only adds a natural aesthetic to your garden but also acts as a protective barrier. It inhibits the growth of weeds by blocking sunlight and reducing weed germination, saving you valuable time and effort in weed control.
Another significant benefit of spring mulching is its ability to retain soil moisture. Hostas thrive in moist soil conditions, and mulching helps to lock in moisture, reducing the need for frequent watering. By creating a moisture-conserving environment, mulch keeps your hostas adequately hydrated, even during dry spells, ensuring their healthy growth and vibrant foliage.
Take advantage of the spring season to mulch your garden beds, including the areas where your hostas reside. By using organic mulch, you’ll not only suppress weed growth and conserve soil moisture but also provide your hostas with an optimal environment in which they can thrive and flourish.


