Welcome to the step-by-step guide on how to make a garden box. Whether you’re an experienced gardener or a beginner, building a raised bed is a fantastic DIY project that allows you to create a customized space for planting your favorite flowers, herbs, and vegetables. In this tutorial, I will walk you through the process of constructing a garden box from scratch, providing you with all the necessary instructions and tips to make the process easy and enjoyable. Let’s get started with creating your very own outdoor planter box!
Key Takeaways:
- DIY garden box: Learn how to build your own garden box, customized to your preferences and gardening needs.
- Step-by-step garden box guide: Follow a detailed and easy-to-understand guide that outlines each stage of the construction process.
- Raised garden bed instructions: Discover the materials needed, bed size considerations, site preparation, and sound construction techniques.
- Easy garden box construction: Constructing a garden box doesn’t have to be complicated or time-consuming. I’ll provide you with tips to make the process straightforward and enjoyable.
- Homemade garden box: Building your own garden box allows you to create a personalized and unique space for your plants.
What Is a Raised Garden Bed?
A raised garden bed, also known as a raised bed, is a freestanding box or frame that sits aboveground and is filled with good-quality soil. It provides an excellent solution for gardening in limited space or areas with poor soil conditions. Raised beds offer several advantages, including improved drainage, better control over soil quality, and easy access for planting, maintaining, and harvesting your crops.
Unlike traditional in-ground gardens, raised beds have distinct borders that help prevent soil erosion and keep the garden organized. The raised height of the bed also reduces strain when bending or kneeling, making it suitable for people with mobility issues or back problems.
One of the key benefits of a raised garden bed is its versatility. You can create a raised bed with or without a frame. If you opt for a frame, it can be made from a variety of materials like wood, metal, or plastic, depending on your preference and budget. The frame provides structure and support to hold the soil in place, creating a neat and defined garden area.
Alternatively, raised beds without a frame can be formed by mounding the soil directly into a raised shape. This method is especially useful for temporary gardens or areas where you want to grow specific plants without the long-term commitment of a frame.
The soil used in a raised bed is typically a mix of organic matter and compost, providing the necessary nutrients for plants to thrive. The open bottom of the bed allows plant roots to access the soil nutrients below ground level. This promotes healthy root development and fosters robust plant growth.
With a raised garden bed, you have more control over the soil quality and composition. You can amend the soil as needed to suit the specific requirements of different plants. This level of customization ensures optimal growing conditions and maximizes the productivity of your garden.
A raised garden bed is a versatile and effective way to grow a wide range of plants, including vegetables, herbs, flowers, and even small shrubs. Whether you’re a seasoned gardener or a beginner, the raised bed offers a user-friendly and rewarding gardening experience. In the next section, we will explore the benefits of using raised garden beds in more detail.
Benefits of Raised Garden Beds
Raised garden beds offer numerous benefits for gardeners. They provide excellent drainage and help prevent erosion. The soil in raised beds warms up quickly in the spring, extending the growing season. Raised beds allow for intensive planting, as plants can be grown close together and mature faster. They also help prevent weeds from taking over, as the beds are elevated and filled with weed-free soil. The loose soil in raised beds does not get compacted, making maintenance easier.
Raised beds are ideal for small spaces and allow for easier organization. They are perfect for square-foot gardening, a method that maximizes productivity in limited areas. Companion planting, where compatible plants are grown together to benefit each other, is also easier to implement in raised beds.
“Raised garden beds offer excellent drainage and help prevent erosion. The soil in raised beds warms up quickly, extending the growing season.”
Whether you’re a beginner or an experienced gardener, raised garden beds offer a convenient and efficient way to grow your plants. With their numerous benefits and versatile design, they are a popular choice for both small-scale and large-scale gardening projects.
| Benefits | Details |
|---|---|
| Drainage | Raised beds provide excellent drainage, preventing waterlogging and root rot. |
| Erosion Prevention | The elevated structure of raised beds helps prevent soil erosion caused by heavy rainfall. |
| Longer Growing Season | The soil in raised beds warms up quickly, allowing for an extended growing season. |
| Intensive Planting | Plants can be grown closer together in raised beds, allowing for higher yields and faster maturity. |
| Weed Control | The elevated design and controlled soil in raised beds help prevent weeds from overwhelming your plants. |
| Soil Compaction | The loose soil in raised beds does not get compacted, making maintenance tasks and root growth easier. |
| Organized Gardening | Raised beds allow for easier organization, planning, and implementation of gardening techniques such as square-foot gardening and companion planting. |
| Ease of Maintenance | The elevated design and controlled environment of raised beds make maintenance tasks more efficient and manageable. |
| Ideal for Small Spaces | Raised beds are perfect for urban or limited spaces where traditional gardening may not be feasible. |
By incorporating raised garden beds into your gardening strategy, you can enjoy the benefits of healthier plants, increased yields, and easier maintenance.

Choosing the Right Material for Raised Beds
When it comes to constructing raised beds, selecting the right materials is essential. There’s a wide variety of options available, depending on your preference, budget, and desired durability. Here are some popular choices:
Untreated Wood
Untreated wood, such as pine or hemlock, is a common choice for raised beds due to its affordability. However, it’s important to note that untreated wood may rot over time, especially when exposed to moisture.
Rot-Resistant Woods
If you’re looking for a more durable option, consider using rot-resistant woods like cedar, redwood, or locust. These types of wood are naturally resistant to decay and can withstand outdoor elements, making them ideal for long-lasting raised beds. However, they may come with a higher price tag.
Recycled Wood
Another eco-friendly option is using recycled wood made from plastic bottles. This type of material is not only sustainable but also resistant to decay, ensuring the longevity of your raised beds.
Modern Treated Wood
For gardeners who prefer using treated wood, modern treated wood is available. It contains chemicals that help prevent rotting. However, some gardeners opt to line the inside of the bed walls with polyethylene to minimize any potential contact between the soil and the treated wood.
Alternative Edge Materials
If wood is not your preference, there are alternative edge materials you can consider. Bricks, cement blocks, concrete, composite wood, cinder blocks, rocks, and stones are all viable options for constructing raised beds. These materials offer durability and a unique aesthetic appeal to your garden.
It’s important to weigh the pros and cons of each material and choose the one that best suits your needs and budget. Remember to prioritize durability, sustainability, and safety when building your raised beds.

| Materials | Durability | Affordability | Sustainability |
|---|---|---|---|
| Untreated Wood | Medium | High | Low |
| Rot-Resistant Woods (Cedar, Redwood, Locust) | High | Medium | Medium |
| Recycled Wood | High | Medium | High |
| Modern Treated Wood | High | Medium | Medium |
| Alternative Edge Materials (Bricks, Cement Blocks, Concrete, Composite Wood, Cinder Blocks, Rocks, Stones) | High | Medium to High | Medium to High |
How Wide Should Your Raised Bed Be?
When it comes to the width of your garden beds, it’s essential to consider factors such as access, soil compaction, weeding, and harvesting. Ideally, your garden beds should not exceed a width of 4 feet to ensure easy access without stepping into the bed. Stepping on the soil can lead to soil compaction, which may hinder plant growth and root development.
If you’re planning to build a raised bed against a wall or fence, narrow beds are the way to go. This allows you to access the bed from only one side, making it easier to tend to your plants. Additionally, narrow beds create a visual appeal when placed against a wall or fence, adding a modern touch to your garden.
The length of your raised bed is not as important as its width, but having several shorter beds rather than one long bed can be more convenient. Multiple shorter beds enable you to separate and rotate crops each year, promoting better soil health and reducing the risk of disease and pest infestations.
If you have limited space in your garden, smaller individual beds allow you to maximize your planting options. You can easily create different microclimates within each bed, enabling you to grow a variety of plants that have specific sunlight and temperature requirements.
Benefits of Optimal Bed Width:
- Easy access without soil compaction
- Efficient use of space
- Opportunity to separate and rotate crops
- Improved garden organization
“By maintaining a bed width of 4 feet or less, you can ensure easy access and care for your plants. Remember, convenience plays a vital role in garden maintenance!”
| Bed Width | Access Benefits |
|---|---|
| Less than 4 feet |
|
| More than 4 feet |
|
Having the optimal width for your raised garden bed can make a significant difference in the overall success of your garden. So, whether you’re a beginner or a seasoned gardener, keep these tips in mind when planning the width of your garden beds.

How Deep Should a Raised Bed Be?
When it comes to the depth of a raised bed, there are a few factors to consider. Standard lumber size for raised beds is 6 inches in height, which is suitable for many gardeners. However, if you want a deeper bed, you can stack two 2×6 boards to create a bed that is 12 inches high.
It’s important to note that as the height of the bed increases, so does the weight of the soil. For beds over 12 inches high, it’s advisable to add cross-supports to ensure the structure remains sturdy.
The depth of the soil in the raised bed is crucial for the growth and development of your plants. Deep-rooted crops such as carrots, parsnips, tomatoes, and squash require a soil depth of 12 to 18 inches to allow their roots to grow and spread. On the other hand, shallow-rooted crops like lettuce and greens can thrive with a minimum soil depth of 6 inches.
In addition to accommodating the needs of your plants, a deeper bed also provides the advantage of loose soil. Loose soil promotes good drainage and helps prevent compaction, allowing your plants to establish healthy root systems and access essential nutrients.
So whether you’re growing root vegetables or shallow-rooted crops, ensuring the appropriate depth of your raised bed is key to creating an optimal growing environment for your plants.
Location for Raised Beds
When it comes to choosing the perfect location for your raised beds, there are a few key factors to consider. The right placement can make all the difference in the success of your garden. Here are some important considerations:
- Sunny Location: It is crucial to position your raised beds in a sunny spot that receives at least 6 to 8 hours of direct sunlight per day. This is particularly important during the midday hours when the sun is at its highest.
- Level Ground: Ensure that the ground where you plan to place your raised beds is level and even. This will provide a stable foundation for your beds and prevent any uneven water pooling.
- Close to the House: For your convenience, it is best to have your raised beds located close to your house. This proximity makes it easier to access your beds for tasks like weeding and harvesting.
- Avoid Windy Locations: Try to avoid placing your beds in windy locations, as strong winds can damage delicate plants and disrupt their growth.
- Avoid Frost Pockets: Frost pockets are low-lying areas where cold air accumulates, making them prone to frost damage. Avoid placing your raised beds in these areas to protect your plants from cold snaps.
- Well-Draining Soil: Choose a location with well-draining soil to prevent waterlogging and ensure optimal root health for your plants. Avoid wet or marshy areas that retain excess moisture.
By considering these factors, you can create an ideal environment for your raised beds and set them up for success.
| Location Factors | Description |
|---|---|
| Sunny Location | Ensure direct sunlight for 6 to 8 hours a day |
| Level Ground | Ensure a stable foundation and prevent water pooling |
| Close to the House | Convenient access for weeding and harvesting |
| Avoid Windy Locations | Protect fragile plants from wind damage |
| Avoid Frost Pockets | Prevent frost damage to plants |
| Well-Draining Soil | Ensure optimal root health and prevent waterlogging |
Preparing the Site
When creating a basic raised bed, proper site preparation is essential. Here are the steps to follow:
1. Grass Removal
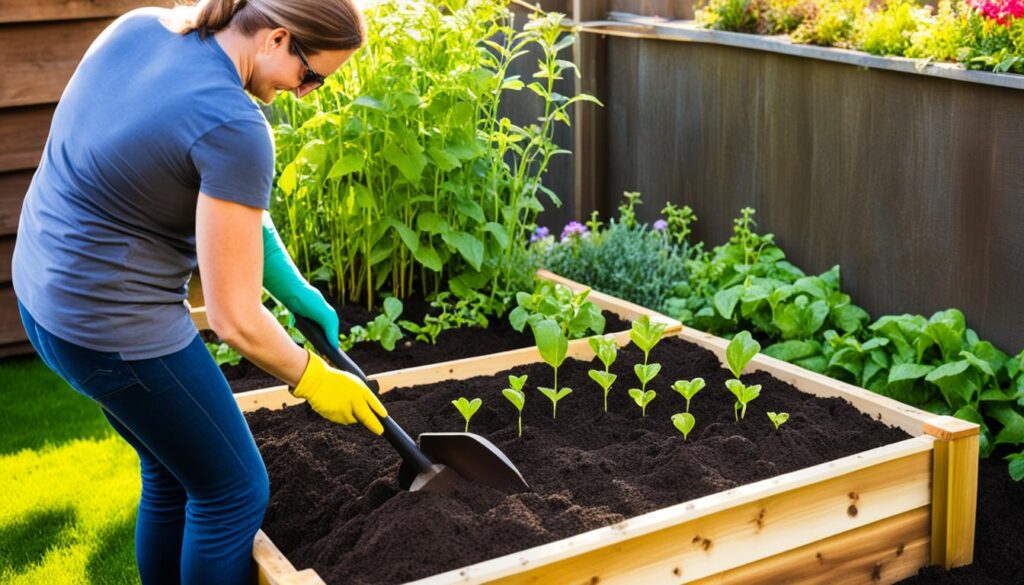
To start, ensure the area for your raised bed is free from grass or sod. Begin by mowing the grass short, then dig it out using a shovel or garden fork. This step will prevent the grass from growing through the soil in your raised bed.
2. Smothering Grass
If you prefer an additional layer of grass control, consider smothering the grass before digging. This involves covering the designated area with a thick layer of newspaper, cardboard, or landscape fabric. This method will kill the grass over time and make removal easier.
3. Soil Loosening
Loosen the soil within the bed area using a garden fork or tiller. This will improve drainage and create a suitable environment for plant roots to grow.
4. Flipping Sod
For a thorough removal of grass and weeds, flip the clumps of sod upside down within the bed area. This helps prevent regrowth and provides organic matter for the soil.
5. Scraping Soil
Scrape away any excess soil or grass from the pathway around the outside of the bed. This will define the edges and create a neat appearance for your raised bed.
6. Soil Amendments
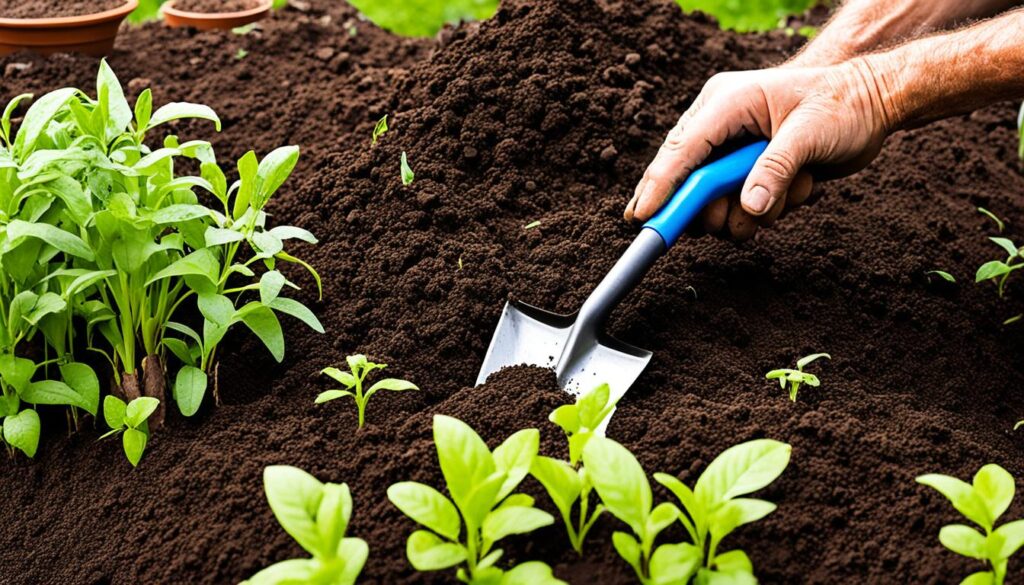
If desired, add soil amendments to improve the fertility and structure of the soil. This can include organic matter such as compost, well-rotted manure, or garden soil. Mix the amendments thoroughly into the existing soil.
7. Optional Steps
For additional weed control and critter prevention, consider using a weed barrier cloth. This cloth will help suppress weed growth while allowing water to pass through. To deter animals from digging into the garden, line the bottom of the bed with chicken wire.
Soil preparation is a vital step in creating a successful raised bed. Take the time to prepare the site properly, and your plants will thrive in their new home.
Building Your Garden Box
When it comes to building your garden box, you’ll need a few essential supplies to get started. These include cedar boards, galvanized wood screws, a saw, a weed barrier cloth, a staple gun, a drill, and optionally, chicken wire for added protection against critters. Once you have gathered all the necessary supplies, follow these steps to create your garden box:
- Cutting the Wood: Begin by cutting the cedar boards to the desired lengths. This will depend on the dimensions you want for your garden box.
- Building the Frame: Use the cut cedar boards and galvanized wood screws to assemble the frame. Ensure that the corners are square and the frame is sturdy.
- Lining the Bottom: Line the bottom of the frame with a weed barrier cloth. This cloth will help prevent weeds from growing up through the soil.
- Flipping the Bed: Once the weed barrier cloth is securely in place, carefully flip the garden box over so that the cloth is on the bottom.
- Filling the Bed: Position the garden box in its desired location and begin filling it with soil. Choose a high-quality soil mix that is suitable for the plants you plan to grow.
- Adding a Grid: For better organization and space optimization, consider adding a grid to your garden box. Use PVC trim to create a grid pattern on the surface of the soil.
Follow these steps to build your garden box, and you’ll be ready to start planting in no time. Enjoy the satisfaction of growing your own fresh produce right at home!
Watering and Maintenance
Watering your garden box is a crucial step in maintaining healthy plants. To make watering easier, ensure that your garden bed is placed in a convenient location where it can be easily accessed with a hose. This will save you time and effort in the long run.
When it comes to watering, using a watering nozzle with a swivel connect is highly recommended. This will provide gentle and controlled watering at the base of each plant, allowing the water to reach the roots effectively. Avoid overwatering, as it can lead to root rot and other plant health issues.
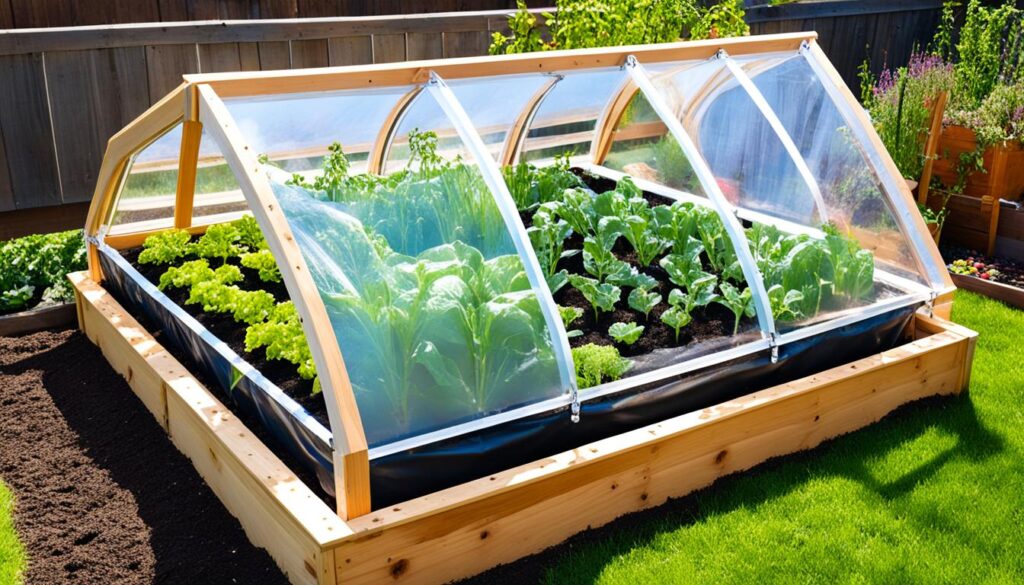
In order to protect your garden from animals, consider adding a garden cage to the top of your bed. This will prevent animals from disturbing your plants and help maintain their overall health. However, the need for a garden cage will depend on your specific location and the wildlife in your area.
Maintenance for your garden beds consists of regular watering, weeding, and general care. Keep an eye on the moisture levels in the soil and adjust your watering schedule accordingly. Remove any weeds that may compete with your plants for nutrients. Additionally, periodically check for pests or diseases and take appropriate measures to address them.

