Gardening is a delightful pastime, but keeping your plants properly hydrated can be a challenge. That’s where a garden hose sprinkler system comes in handy. In this article, I’ll show you how to create your own DIY sprinkler system using a garden hose. With just a few simple steps, you can set up an efficient and cost-effective irrigation solution for your garden.
Key Takeaways:
- Create your own DIY sprinkler system using a garden hose
- Save time and money on irrigation
- Understand the basics of garden hose sprinkler systems
- Assess your garden’s watering requirements
- Choose the right garden hose for optimal water flow
Understanding the Basics of Garden Hose Sprinkler Systems
Before we dive into building the sprinkler system, it’s important to understand the fundamentals of garden hose sprinkler systems. These systems are designed to provide efficient garden irrigation, ensuring that your plants receive the water they need to thrive. By utilizing a garden hose sprinkler system, you can easily control the water flow and distribution, ultimately saving you time and effort.
A garden hose sprinkler system is a homemade sprinkler system that typically consists of a garden hose connected to sprinkler heads. It works by distributing water in a controlled manner across your garden, ensuring that each area receives adequate hydration. This targeted approach allows for more precise water delivery, promoting healthy plant growth while conserving water.
One of the advantages of a garden hose sprinkler system is its versatility. You can customize the system to suit the unique layout and needs of your garden. Whether you have a small flowerbed or a large vegetable patch, a homemade sprinkler system can be tailored to provide optimal watering coverage.
Creating your own homemade sprinkler system offers several benefits. Firstly, it can be a cost-effective solution compared to purchasing a professionally installed irrigation system. Secondly, it provides a sense of accomplishment and ownership as you design and assemble the system yourself. Lastly, a homemade sprinkler system allows for easy adjustments and modifications as your garden evolves and changes.
In the next section, we’ll explore how to evaluate your garden’s watering requirements, ensuring the success of your DIY sprinkler system.
Assessing Your Garden’s Watering Requirements
Every garden is unique, and understanding its specific watering requirements is crucial for the successful installation of a sprinkler system. In this section, I’ll guide you through the process of assessing your garden’s needs to ensure an effective watering system for your plants.
Factors Affecting Watering Demands
Several factors contribute to your garden’s irrigation needs. Let’s explore these factors:
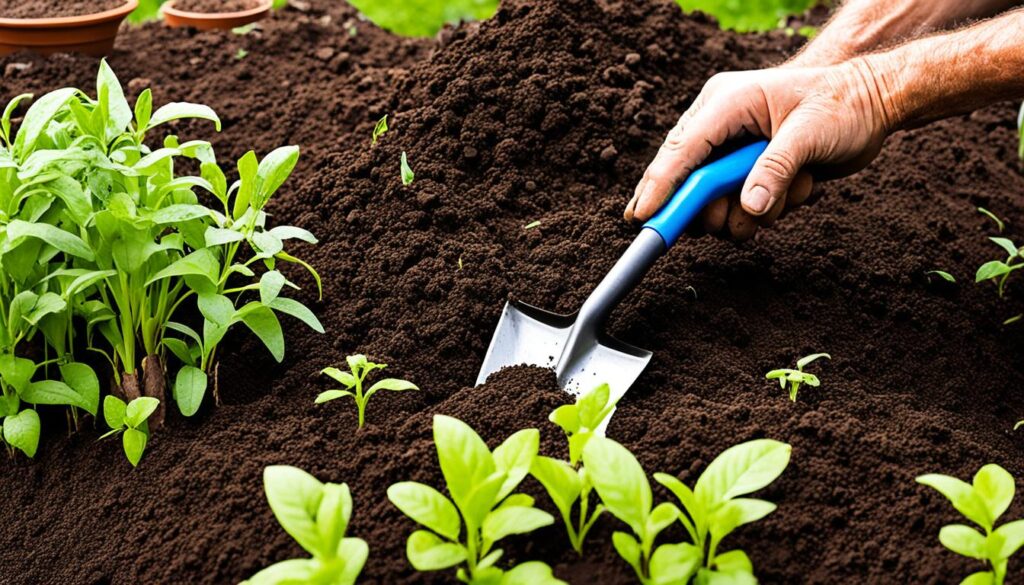
- Soil Type: Different soil types retain water differently. Sandy soils drain quickly, while clay soils retain water for longer periods. Understanding your soil type will help determine the frequency and duration of watering.
- Plant Types: Different plants have varying water requirements. Some plants, like succulents, thrive in arid conditions and require less frequent watering, while others, like leafy vegetables, need consistent moisture. Consider the specific watering needs of the plants in your garden.
- Garden Size: The size of your garden affects the overall water demand. Larger gardens may require additional watering resources, while smaller gardens can be effectively irrigated with a simpler system.
By considering these factors, you can determine the optimal sprinkler system installation for your garden.
To further aid your assessment, conducting a simple water audit can provide valuable insights into your garden’s water requirements. Measure the amount of water your garden receives from natural rainfall over a specific time period. This will help you gauge the additional watering needed to sustain your plants.

Image: A garden sprinkler system in action, effectively watering the plants.
Customizing Your Sprinkler System
Once you’ve assessed your garden’s watering requirements, you can customize your sprinkler system accordingly. Based on the factors discussed earlier, you may choose to install different types of sprinkler heads, adjust water pressure, or incorporate timed irrigation schedules.
Remember that the goal is to create a system that ensures even and efficient water distribution throughout your garden, promoting healthy plant growth and reducing water wastage.
In the next section, we’ll explore the importance of selecting the right garden hose for your sprinkler system installation.
Choosing the Right Garden Hose for Your Sprinkler System
The garden hose plays a crucial role in the effectiveness of your sprinkler system. It’s important to select the right garden hose to ensure optimal water flow and durability for your DIY sprinkler system. In this section, I’ll guide you through the process of choosing the perfect garden hose for your irrigation needs.
Factors to Consider
- Materials: Consider the materials used in the construction of the garden hose. Common options include rubber, vinyl, and reinforced hoses. Each material has its own advantages and suitability for different irrigation requirements.
- Length: Determine the length of the garden hose based on the size of your garden. A hose that is too short may not reach all areas, while a hose that is too long can result in inefficient water distribution. Measure the distance from your water source to the farthest point in your garden to ensure you choose the appropriate length.
- Diameter: The diameter of the garden hose affects water flow rate. A larger diameter allows for higher water volume, resulting in better coverage and reduced watering time. Consider the water pressure in your area and the sprinkler system’s water requirements when selecting the hose diameter.
By taking these factors into account, you can make an informed decision when choosing the garden hose for your sprinkler system. Remember, the right hose can significantly improve the efficiency and effectiveness of your irrigation efforts.
Essential Tools and Materials for Building a Sprinkler System
Building a sprinkler system requires specific tools and materials. To assemble your DIY sprinkler system, you’ll need the following essential items:
- Connectors: These allow you to join different parts of the sprinkler system together, ensuring a secure connection.
- Valves: Valves control the flow of water within the system, allowing you to easily turn the sprinklers on and off.
- Sprinkler Heads: These distribute water over your garden area. Choose the type of sprinkler heads based on your garden’s needs, such as rotary or spray heads.
- Pipes: Pipes are the conduits that carry water from the source to the sprinkler heads. Select durable pipes that are compatible with your connectors and valves.
- Stakes: Stakes help secure the pipes and sprinkler heads to the ground, keeping them in place during operation.
- Pipe Cutters: These tools are essential for accurately cutting pipes to the desired length.
- Teflon Tape: Teflon tape is used to create a watertight seal when connecting pipes and fittings.
- Trenching Shovel: A trenching shovel is useful for digging trenches to bury the pipes, protecting them from damage and maintaining a neat appearance.

Make sure to gather all the necessary tools and materials before starting your DIY project. Having everything prepared will make the installation process smoother and quicker.
Step-by-Step Guide to Assembling Your DIY Sprinkler System
Now it’s time to put all the pieces together. In this section, I’ll walk you through a step-by-step guide on how to make a sprinkler system with a garden hose. From connecting the hose to positioning and adjusting the sprinkler heads, you’ll have a clear understanding of the installation process.
Gather Your Tools and Materials
Before we begin, make sure you have all the necessary tools and materials ready. Here’s what you’ll need:
- Garden hose
- Sprinkler heads (choose based on your garden’s needs)
- Connectors and valves
- Sprinkler stakes
- Teflon tape
- Utility knife
- Adjustable wrench
Make sure all your tools and materials are within reach before you start assembling your DIY sprinkler system.
Map Out Your Garden
Take some time to walk around your garden and assess the areas that require watering. Consider the size of your garden, the types of plants you have, and any areas that may require additional irrigation.
Once you have a clear idea of your garden layout, mark those areas on a map or sketch to help you plan the placement of sprinkler heads.
Connect the Hose
Start by attaching one end of the garden hose to a water source, such as an outdoor faucet. Use a connector if necessary to ensure a secure connection.
Now, unroll the hose and position it along the areas you marked on your garden map. Make sure the hose reaches all the desired watering zones.
Secure the hose in place using sprinkler stakes or clips to prevent it from moving or becoming tangled.
Install the Sprinkler Heads
Choose the appropriate type of sprinkler heads based on the needs of each watering zone in your garden. Some areas may require full-circle heads, while others may need adjustable or oscillating heads.
Using a utility knife, carefully cut the hose at the desired locations for each sprinkler head. Make sure the cuts are clean to ensure optimal water flow.
Attach the sprinkler heads to the cut ends of the hose securely. Use connectors or fittings if needed to ensure a watertight connection.
Adjust and Test the Sprinkler System
Once all the sprinkler heads are installed, position them according to your garden map. Aim the heads away from walkways, buildings, or any areas where water runoff could cause damage.
Turn on the water source and test each sprinkler head to ensure it’s functioning correctly. Make any necessary adjustments to the direction and range of the water spray.
With your garden hose sprinkler system fully assembled, you can now enjoy the convenience of automated watering for your garden. Take note of any areas that require additional customization or fine-tuning and make adjustments as needed.
In the next section, I’ll share valuable maintenance and troubleshooting tips to help you keep your DIY sprinkler system running smoothly.
Maintenance and Troubleshooting Tips for Your DIY Sprinkler System
Like any system, your DIY sprinkler system will require occasional maintenance and troubleshooting. Keeping your garden irrigation system running smoothly is essential for maintaining a healthy and vibrant lawn. In this section, I’ll share valuable tips on how to keep your garden irrigation system in top shape and address common issues that may arise. By following these maintenance and troubleshooting practices, you can ensure that your lawn sprinkler system remains efficient throughout the seasons.
Maintenance Tips
- Regularly inspect your sprinkler system for any signs of damage, such as leaks or clogged nozzles. Addressing these issues early can prevent further damage and water wastage.
- Clean your sprinkler heads regularly to remove any debris that may obstruct the water flow. This will help maintain optimal water distribution across your lawn.
- Check the alignment of your sprinkler heads to ensure they are properly covering the intended areas. Adjust them if necessary to prevent overwatering or missed areas.
- Monitor your garden irrigation system’s water pressure and adjust it accordingly to prevent stress on the pipes and ensure adequate water distribution.
- Inspect and replace damaged or worn-out components, such as hoses, connectors, and valves, to maintain the efficiency of your sprinkler system.
Troubleshooting Tips
If you encounter any issues with your DIY sprinkler system, here are some troubleshooting tips to help you identify and fix common problems:
- If your sprinkler system is not turning on, check the water supply and ensure that the valve controlling the system is open.
- If specific areas of your lawn are not receiving sufficient water, examine the sprinkler heads in that zone and adjust them to provide adequate coverage.
- If you notice uneven water distribution, check for blockages in the sprinkler heads and clear any debris that may be obstructing the flow.
- If your sprinkler system is leaking, inspect the connections and tighten them. Replace any damaged components if necessary.
- If your DIY sprinkler system is experiencing low water pressure, check for obstructions in the filters and clean or replace them as needed.
Regular maintenance and timely troubleshooting will ensure that your garden irrigation system operates at its best, keeping your lawn lush and healthy. Remember to follow these tips to maximize the efficiency and longevity of your DIY sprinkler system.

Enhancing Your DIY Sprinkler System with Smart Irrigation Technology
If you’re looking to take your DIY sprinkler system to the next level, you’ll be thrilled to discover the wonders of smart irrigation technology. With the advancement of technology, you can enhance the efficiency and convenience of your garden hose sprinkler system like never before.
Smart irrigation technology allows you to automate and control your watering system for the garden with ease. By integrating weather data and soil moisture sensors, these systems optimize the watering schedule based on real-time conditions, ensuring your plants receive the right amount of water at the right time.
One of the key benefits of smart irrigation technology is its ability to conserve water. By avoiding unnecessary watering during rain events or when the soil already has sufficient moisture, these systems prevent overwatering and reduce water waste. This not only benefits the environment but also helps you save on water bills.
Another advantage of smart irrigation systems is the convenience they offer. You can control and monitor your sprinkler system installation remotely from your smartphone or computer. Whether you’re at work, on vacation, or just relaxing in your backyard, you’ll have full control over your watering system for the garden.
Smart irrigation technology also provides advanced features to further enhance your garden irrigation efforts. Some systems offer customizable zone settings, allowing you to allocate specific watering durations and frequencies to different areas of your garden. This ensures each plant receives the optimal amount of water it needs.
Furthermore, smart irrigation systems can integrate with other smart home devices, such as voice assistants or weather stations. This enables seamless integration and coordination, allowing your whole gardening routine to become more streamlined and efficient.
Save time, money, and water
By upgrading your DIY sprinkler system with smart irrigation technology, you can enjoy significant time and cost savings. With automated scheduling and precise watering, you’ll no longer have to manually adjust and monitor your sprinkler system installation. This means more time for relaxation and less effort spent on garden maintenance.
Additionally, the water-saving capabilities of smart irrigation systems contribute to a greener and more sustainable environment. By reducing water wastage and promoting efficient water usage, you’ll be doing your part in conserving this precious resource for future generations.
So why not transform your garden hose sprinkler system into a smart, automated oasis? With the addition of smart irrigation technology, you’ll experience enhanced efficiency, convenience, and savings in your garden irrigation efforts.
Conclusion
Congratulations on acquiring the knowledge and skills to install your very own sprinkler system using a garden hose. Throughout this article, we have covered everything you need to know about garden hose irrigation and sprinkler system installation. You now have the ability to create a DIY sprinkler system that will revolutionize the way you water your garden.
By understanding the basics of garden hose sprinkler systems and assessing your garden’s watering requirements, you can ensure that your sprinkler system effectively meets the needs of your plants and soil. Choosing the right garden hose and gathering the essential tools and materials will ensure a successful installation.
With our step-by-step guide, you will be able to assemble your DIY sprinkler system with ease, positioning and adjusting the sprinkler heads to provide optimal coverage for your garden. And if you ever encounter any maintenance or troubleshooting issues, we have provided valuable tips to keep your system running smoothly.
Remember, you can always take your DIY sprinkler system to the next level by incorporating smart irrigation technology. This will enhance the efficiency and convenience of your garden hose irrigation, allowing for automation and advanced features that can maximize your garden’s irrigation efforts.

