Creating a miniature garden is a delightful and rewarding DIY project that allows you to unleash your creativity and add a touch of magic to any space. Whether you have a green thumb or are just starting your gardening journey, designing and crafting your own miniature garden is a fun and relaxing activity that anyone can enjoy. In this step-by-step mini garden tutorial, I will guide you through the process of creating a charming miniature garden that will bring joy to your home or outdoor area.
For those who love all things miniature, a DIY mini garden is the perfect opportunity to create a tiny world filled with enchanting landscapes and adorable features. With just a few basic supplies and a little imagination, you can transform a simple container into a captivating miniature garden that reflects your own personal style and interests. Let’s dive into the wonderful world of miniature gardening and discover the joy of creating your own tiny oasis.
Key Takeaways:
- Creating a miniature garden is a fun and creative DIY project.
- You can design and build your own miniature garden with basic supplies.
- Start by gathering the necessary materials, including a container, compost or garden soil, natural materials, small pieces of fabric, and wildflower seeds.
- Plan and sketch your miniature garden design before starting the construction.
- Consider recycling and upcycling materials to add a unique touch to your mini garden.
Supplies Needed
Creating a beautiful miniature garden requires a few essential supplies that can bring your vision to life. Here are the key items you’ll need:
Container
A suitable container is the foundation of your miniature garden. Choose a plant pot or a hanging basket that suits your style and space. Make sure it is large enough to accommodate your desired plants and decorations.
Compost or Garden Soil
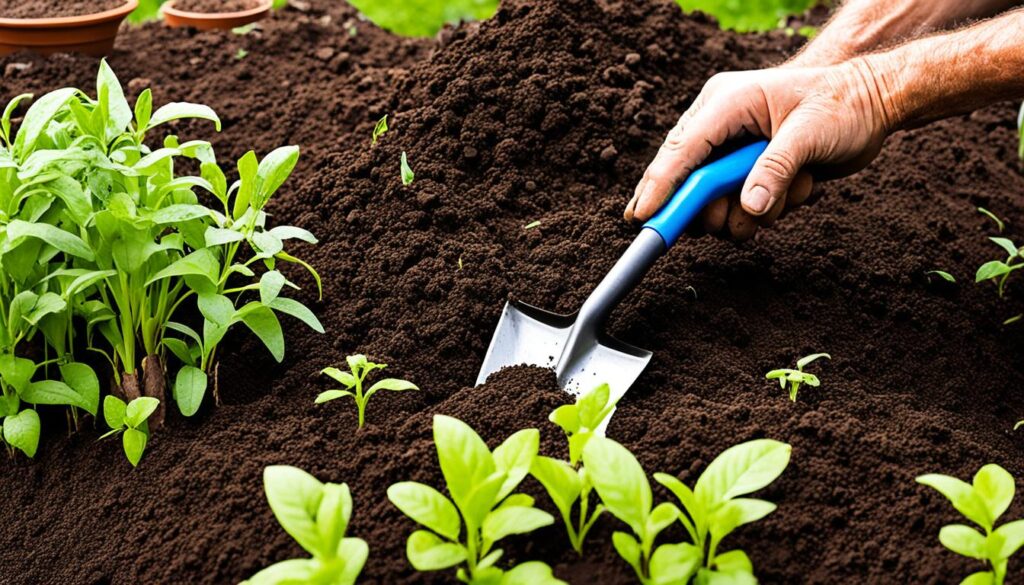
For healthy plant growth, use high-quality compost or garden soil to create a nourishing environment. This will provide the essential nutrients your plants need to thrive in their mini world.
Natural Materials
Add authenticity to your miniature garden with natural materials. Gather twigs, leaves, stones, and flowers from your surroundings or explore local parks or forests for unique finds. These elements will add a touch of realism and beauty to your mini landscape.
Small Pieces of Fabric
Add a splash of color and texture to your garden by incorporating small pieces of fabric. Choose vibrant patterns or soothing hues that complement your theme. Use them as tiny rugs, blankets, or tablecloths to create cozy spots in your miniature world.
Wildflower Seeds
Inject bursts of color and attract delightful pollinators by scattering wildflower seeds throughout your garden. These seeds will sprout into charming blossoms, adding an enchanting touch to your miniature landscape.
A miniature garden can come to life with these essential supplies. From the container to the wildflower seeds, each element contributes to the magic and beauty of your miniature world.
Design and Planning
Before starting your miniature garden, it’s helpful to sketch out a rough design of how you want it to look. This will guide you in creating a well-planned and visually appealing garden.
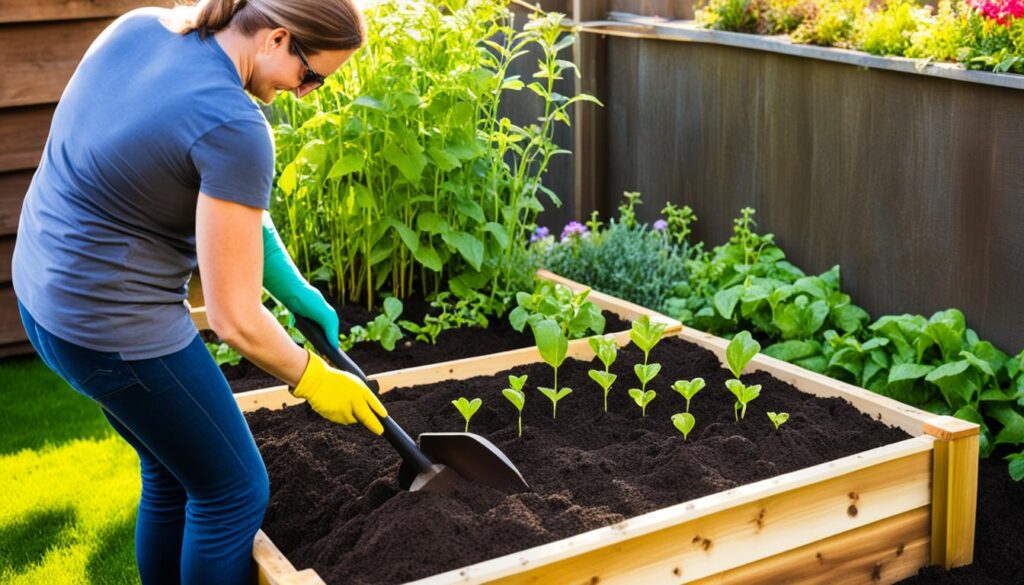
Start by filling your container with compost or soil to create a base for your garden. This provides a solid foundation for your plants and decorations to thrive.
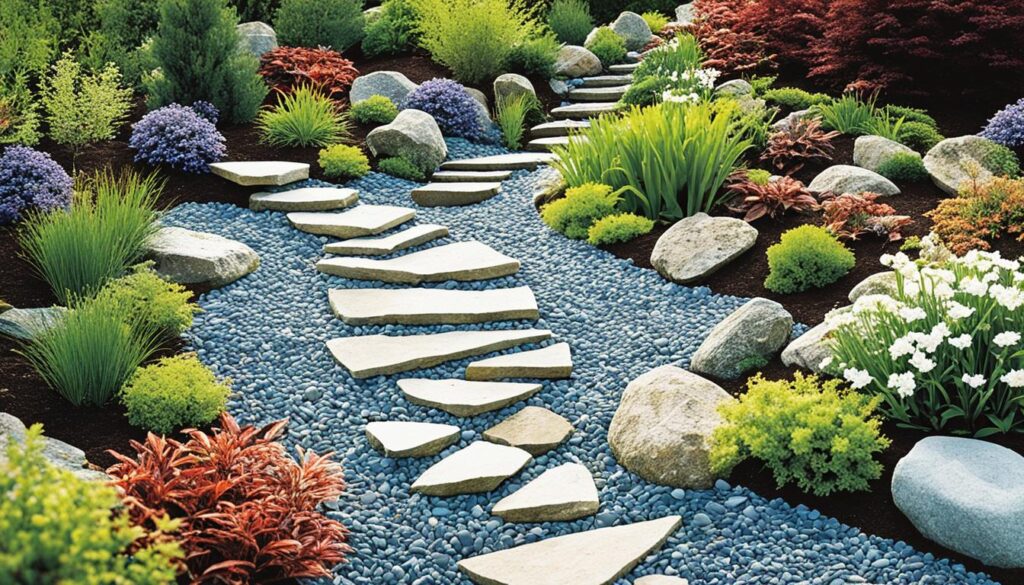
Next, focus on building pathways and solid structures within your miniature garden. Use materials like twigs, small stones, or even tiny pieces of driftwood to create charming walkways that add depth and dimension to your garden.
Once your pathways are in place, start adding in smaller decorations to enhance the overall aesthetic. Consider using miniature furniture, tiny garden tools, or even whimsical figurines to bring your miniature garden to life.
Leave delicate items for the last step to avoid getting them covered in soil. This way, you can ensure that every detail of your garden is showcased and protected.
Finally, consider including a main feature or “star of the show” in your miniature garden. This could be a unique plant that stands out, or a handmade creation using natural materials. The main feature will become the focal point of your garden and draw attention to its beauty.
Remember, the design and planning stage is your opportunity to let your creativity shine and bring your miniature garden vision to life!

Example: Design and Planning
| Design Steps | Description |
|---|---|
| Step 1 | Sketch a rough design of your miniature garden |
| Step 2 | Fill the container with compost or soil as the base |
| Step 3 | Build pathways and solid structures |
| Step 4 | Add smaller decorations to enhance the garden |
| Step 5 | Include a main feature or focal point |
Recycling and Upcycling
Get creative with your mini garden by raiding the recycling bin for materials to decorate it. Look for items that can withstand the weather if you’re creating an outdoor garden. Upcycled materials can add a unique and eco-friendly touch to your miniature garden design.
Reusing items from the recycling bin is not only a sustainable choice but also a great way to add character and charm to your miniature garden. From glass bottles and jars to old tin cans and plastic containers, there are plenty of weatherproof items that can be transformed into beautiful decorations for your mini garden.

Consider using glass bottles or jars as mini terrariums to house small succulents or air plants. You can also repurpose old tin cans by painting them and turning them into colorful planters. Plastic containers can be transformed into charming fairy houses or bird feeders.
Upcycling Ideas for Your Miniature Garden
| Recycled Item | Idea |
|---|---|
| Glass bottles or jars | Create mini terrariums |
| Old tin cans | Paint and use as planters |
| Plastic containers | Turn into fairy houses or bird feeders |
| Cardboard boxes | Build miniature structures or furniture |
| Wine corks | Make tiny planter markers or pathways |
Don’t limit yourself to these ideas—let your imagination run wild and explore different possibilities with the items you have at hand. Remember to clean and prepare the recycled materials before incorporating them into your mini garden to ensure they are safe and ready for use.
Upcycled materials not only add a touch of uniqueness to your miniature garden but also contribute to a more sustainable and environmentally-friendly approach. By giving new life to discarded items, you’re reducing waste and making a positive impact on our planet.
So, raid the recycling bin and let your creativity bloom as you transform weatherproof items into delightful decorations for your mini garden. Your upcycled creations will not only impress your friends and neighbors but also serve as a reminder of the beauty that can be found in everyday objects.
Care and Maintenance
Once you’ve completed your miniature garden, it’s important to take care of it to ensure its longevity. The right care and maintenance will keep your miniature garden looking fresh and vibrant for a long time. Here are some essential steps to follow:
- Watering: Proper watering is crucial for the health of your miniature garden. Water the garden carefully, taking into account the specific needs of the plants. If your mini garden is placed outdoors, pay extra attention to watering during hot and dry spells.
- Outdoor placement: Consider the placement of your miniature garden. Choose a sheltered area that offers protection from extreme weather conditions. This will help prevent damage to your mini garden and ensure its longevity.
- Regular maintenance: Periodically inspect your miniature garden for any signs of dead or wilted items. Replace or remove them promptly to maintain the overall appearance of your garden. Additionally, consider trimming any overgrown plants or rearranging decorations for a refreshed look.

Expert Tip:
Regular observation is key to keeping your miniature garden thriving. By paying attention to the watering needs and maintaining the overall condition, you can enjoy the beauty of your mini garden for years to come.
Materials Needed for Miniature Garden Crafts
To create adorable miniature garden crafts, gather the following materials:
- A flower pot of any size
- A vining plant and a stick for support
- Twigs for making benches, tables, and fences
- Paper for tiny planters
- Thick paper for mini watering cans and buckets
- Glue
- Tiny plants for decoration
- Plants suitable for the mini garden theme
These materials will help you bring your mini garden to life with cute and creative DIY projects. Whether you want to create miniature furniture using twigs, craft tiny planters from paper, or design miniature watering cans and buckets, having these materials on hand will ensure you have everything you need to let your creativity flourish. Be sure to choose plants that fit the mini garden theme and complement the overall design of your crafts.
Step-by-Step Instructions for Miniature Garden Crafts
Create enchanting miniature garden crafts with these simple step-by-step instructions. Add a personal touch to your mini garden by following these easy DIY projects.
Making a Bench and Table
To start, gather twigs and glue. Use the twigs to create a bench and table by arranging and gluing them together. This miniature furniture will provide a cozy spot for your tiny garden inhabitants to relax and enjoy.
Creating Mini Fences
Next, collect sticks of varying lengths. Arrange and glue these sticks together to create mini fences for your garden. These fences will add a touch of charm and define boundaries within your miniature landscape.
Rolling and Gluing Tiny Paper Planters
Now it’s time to make adorable tiny planters for your miniature garden. Roll and glue paper to form small cups or pots. These paper planters will serve as homes for your plants, adding color and texture to your mini garden.
Making Miniature Watering Pots and Buckets
Take thick paper and cut out shapes resembling watering pots and buckets. Fold and glue the paper pieces together to create miniature watering tools for your garden. These tiny gardening essentials will complete the look of your mini landscape.
Decorating the Garden
Now that you have all the essential elements in place, it’s time to decorate your miniature garden. Add mini accessories like rocks, figurines, and other decorative items to bring life and character to your tiny landscape. Get creative and let your imagination guide you in this final step to achieving a truly enchanting mini garden.
Care Tips for Miniature Gardens
To keep your miniature garden thriving, follow these care tips:
- Plant selection: Choose plants that require less nurturing and stay small in size, such as succulents, ferns, or dwarf varieties of flowers. This will help ensure that your mini garden remains visually appealing and manageable in the long run.
- Soil mix: Create an ideal soil mix for your miniature garden by combining potting soil with sand. This will provide proper drainage and aeration, allowing the roots to grow healthily and preventing waterlogged conditions.
- Watering methods: Water your plants in the miniature garden using a dropper or a spray bottle. This allows you to control the amount of water you provide, preventing overwatering and ensuring that the soil remains moist but not soaked. Pay attention to the moisture needs of different plants and adjust your watering accordingly.
- Regular trimming: Trim your plants regularly to prevent overcrowding and promote healthy growth. Remove any dead or yellowing leaves, as well as any branches or stems that are growing too close to each other. This will help maintain the aesthetic appeal of your miniature garden and ensure that each plant has enough space to thrive.
By following these care tips, you can enjoy a thriving and beautiful miniature garden that will bring joy and tranquility to your space.
| Plant Name | Light Requirements | Watering Needs | Special Considerations |
|---|---|---|---|
| Succulents | Bright indirect sunlight | Water sparingly, allow soil to dry between waterings | Drought-tolerant, well-draining soil |
| Ferns | Shade to filtered light | Keep soil moist but not waterlogged | High humidity, well-draining soil |
| Dwarf Marigolds | Full sun to partial shade | Regular watering, allow soil to dry slightly between waterings | Deadhead spent flowers for prolonged blooming |
| Miniature Roses | Full sun | Regular watering, keep soil evenly moist | Prune to maintain size and shape, fertilize regularly |
Conclusion
Creating a small garden design can be a rewarding and enjoyable experience. By following the step-by-step mini garden guide and utilizing miniature landscape ideas, you can bring charm and beauty to any space. With careful planning and the application of miniature gardening techniques, you can craft your own tiny garden oasis.
Remember, building a miniature garden is all about unleashing your creativity. Experiment with different plants, accessories, and themes to design a unique and enchanting mini garden that reflects your personal style. Let your imagination run wild as you embark on this journey of tiny garden crafting.
As you embark on your mini garden project, don’t forget to incorporate the care tips provided. Proper watering methods, plant selection, and regular maintenance will ensure the health and longevity of your miniature garden. With attention to detail and regular trimming, your small garden masterpiece will flourish and bring joy for years to come.

