Amaryllis is a beautiful holiday gift plant that many of us enjoy growing indoors. But did you know that in suitable regions, you can also plant Amaryllis bulbs outside in your garden? Yes, it’s true! With a little care and attention, you can see these stunning flowers bloom in your outdoor space.
Growing Amaryllis in the garden can be a delightful experience. Whether you choose to plant them in beds, borders, or containers, these vibrant flowers will add a touch of elegance to any outdoor setting. Not only are they visually appealing, but Amaryllis bulbs are also resistant to deer and many rodents, making them an excellent addition to your garden.
If you’re wondering when and how to plant Amaryllis bulbs outdoors, keep reading. In this article, I’ll provide you with all the information you need to successfully grow these gorgeous flowers in your garden.
Key Takeaways:
- Amaryllis bulbs can be planted outside in suitable regions, such as USDA zone 7b.
- Bulbs should be planted in the fall with other spring bloomers or in the spring after the threat of frost has passed.
- Gradually acclimate the plants to their new environment before moving them outside permanently.
- Choose a well-draining soil location with partial shade for optimal growth.
- Provide proper care, including watering, feeding, and mulching, to ensure healthy growth and beautiful blooms.
When to Plant Amaryllis Bulbs Outdoors.
If you’re considering planting Amaryllis bulbs in an outdoor environment, timing is crucial for their successful growth. To ensure optimal results, it’s best to plant these bulbs outside in the fall, alongside other spring bloomers. By doing so, you can provide the bulbs with enough time to establish themselves before the arrival of spring.
When planting Amaryllis bulbs outdoors, it’s important to follow proper planting techniques. Make sure to bury the bulbs with the neck deep in the soil while keeping the top third of the bulb above ground level. This placement will maximize their exposure to sunlight and facilitate healthy growth.
To allow enough space for each bulb to flourish, ensure that they are spaced 12 to 15 inches apart. This spacing will prevent overcrowding and help each bulb receive adequate nutrients and resources.
If you’ve received gifted or purchased Amaryllis plants, you can plant them outside in the spring. However, it’s vital to wait until the plants have finished blooming before transplanting them to their final outdoor location. This approach will protect the plants from potential damage or stress during the transition.
“Proper timing and gradual acclimation are essential when planting Amaryllis bulbs outdoors, allowing them to thrive in the outdoor environment.”
By ensuring that the plants gradually acclimate to their new surroundings, you can provide them with the best chance for success. Begin by placing them in a sheltered area outside for a few hours each day, gradually increasing their exposure to natural conditions over the course of a week or two.
Taking these steps will help your Amaryllis bulbs adapt to their outdoor environment, promote healthy growth, and ultimately yield beautiful blooms for your garden.
| Planting Amaryllis Bulbs Outdoors | Tips |
|---|---|
| Planting time | Autumn, along with other spring bloomers |
| Planting technique | Neck deep in soil, top third of bulb above ground level |
| Spacing | 12 to 15 inches apart |
| Transplanting gifted or purchased plants | Wait until after blooming; gradually acclimate to outdoor conditions |
How to Grow Amaryllis in the Garden.
Amaryllis is a versatile plant that can thrive in various lighting conditions. While it can tolerate both sun and shade, partial shade is typically preferred. Excessive sunlight can lead to leaf burn, while excessive shade may limit flowering.
To ensure optimal growth, it’s important to select well-draining soil for your Amaryllis. You can enhance drainage by creating raised beds or incorporating organic matter such as peat or compost into the soil.
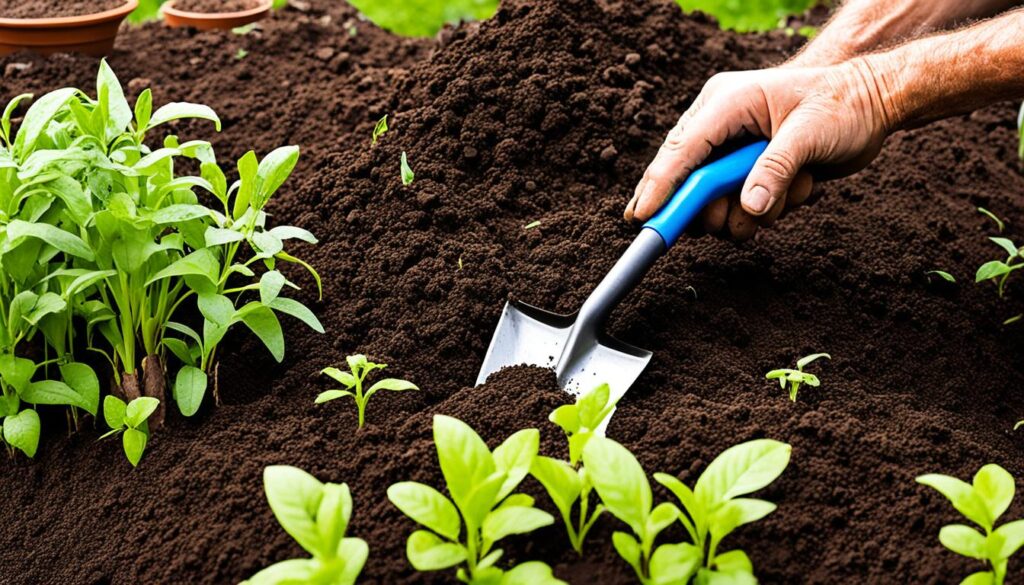
When planting Amaryllis bulbs, make sure to position them with the neck deep in the soil, while keeping the top third of the bulb above the soil level. This planting technique promotes healthy root development and encourages robust flowering.
After planting, it’s crucial to water the plants thoroughly until they are established. Amaryllis appreciates at least one feeding in early spring and can benefit from additional applications of a balanced fertilizer throughout the growing season, if necessary.
Throughout the growing period, it’s important to maintain adequate moisture levels for optimal plant growth. Established Amaryllis plants have a moderate tolerance for drought conditions but will thrive when consistently moist.
The key to successful Amaryllis growth in the garden lies in providing the right amount of sunlight, well-draining soil, proper planting depth, appropriate watering, and regular feeding. With these essential elements in place, you can enjoy the stunning beauty of Amaryllis blooms in your garden.
Amaryllis Outdoor Care Tips
- Choose a suitable location with partial shade for Amaryllis plants.
- Ensure the soil is well-draining by incorporating organic matter or creating raised beds.
- Plant the bulbs with the neck deep in the soil, keeping the top third above the soil level.
- Water the plants thoroughly after planting and maintain consistent moisture throughout the growing season.
- Feed the plants with a balanced fertilizer in early spring and as needed during the growing season.

Amaryllis Garden Care.
When it comes to maintaining your Amaryllis plants in the garden, there are a few key steps to keep in mind for successful outdoor growth. Proper care and maintenance will ensure that your Amaryllis blooms beautifully year after year.
Fertilizing and Feeding
Upon emergence in early spring, it’s important to feed your Amaryllis plants. You can use a balanced fertilizer to provide essential nutrients and promote healthy growth. Repeat this feeding process a few more times throughout the growing season to support continuous development.
Watering and Moisture
Keeping your Amaryllis plants adequately moist is crucial during the growing season. While established plants are fairly tolerant of drought, it’s best to maintain consistent moisture to ensure optimal growth and blooming. Regular watering will help your Amaryllis thrive in the garden.
Forced Bulb Care
If you’ve planted forced Amaryllis bulbs outside, they will eventually revert back to their natural spring blooming cycle. After the flowers have faded, you can remove the stalks while expecting the foliage to remain throughout much of the summer. It’s important to allow the leaves to photosynthesize and replenish the bulb for the next blooming season.
Mulching for Moisture and Weed Control
One effective way to conserve moisture and reduce weed growth around your Amaryllis plants is by adding a layer of mulch. This helps retain the moisture in the soil, keeping the plants hydrated and healthy. Additionally, mulching prevents weed competition, allowing your Amaryllis to flourish without interference.
Overcrowding and Division
If your Amaryllis plants become overcrowded, it’s important to address this issue promptly. Overcrowding can lead to reduced blooming and overall plant health. You can divide and separate the bulbs as needed, ensuring each bulb has enough space to grow and develop properly.
Bloom-Boosting Fertilizer
If you find that your Amaryllis plants are not blooming as well as you’d like, you can consider using a bloom-boosting fertilizer or bone meal. These additional nutrients can provide a much-needed boost to stimulate blooming and produce more vibrant flowers.
By following these guidelines for Amaryllis garden care, you’ll be able to enjoy the beauty and elegance of these stunning flowers in your outdoor space. With a little attention and maintenance, your Amaryllis plants will thrive and reward you with breathtaking blooms.
Transplanting Amaryllis Outside.
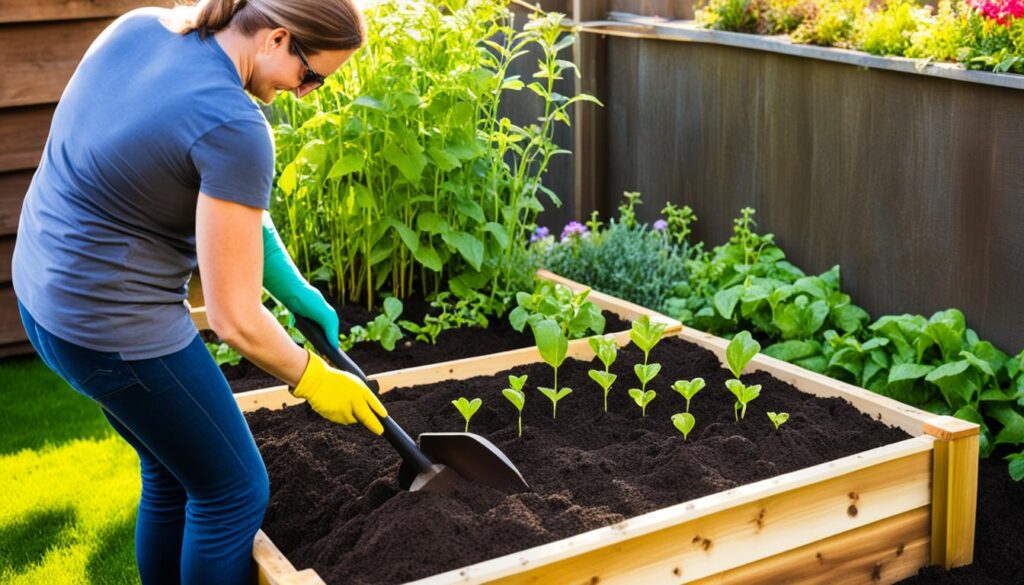
If you have amaryllis bulbs that have been forced indoors or received as gifts, they can be transplanted outside in the spring after the threat of frost has passed. Before transplanting, the plants should be gradually acclimated to their new outdoor environment. Choose a suitable location in the garden with partial shade and well-draining soil. Plant the bulbs with the neck deep in the soil, keeping the top 1/3 of the bulb above the soil level. Space the bulbs 12 to 15 inches apart.
Water the plants well after transplanting until they are established. This will help them adapt to the new conditions and encourage root growth. Once the plants are established, provide appropriate care and maintenance to ensure their healthy growth and beautiful blooms.
Here is a step-by-step guide to transplanting amaryllis bulbs outside:
- Gradually acclimate the plants to their new outdoor environment by placing them in a sheltered area for a few hours each day, gradually increasing the time spent outside over a period of one to two weeks.
- Choose a suitable location in the garden with partial shade. Amaryllis bulbs prefer a location that receives morning sun and afternoon shade.
- Prepare the soil by ensuring it is well-draining. Amaryllis bulbs should be planted in soil that is rich in organic matter.
- Plant the bulbs with the neck deep in the soil, keeping the top 1/3 of the bulb above the soil level.
- Space the bulbs 12 to 15 inches apart to allow for proper airflow and growth.
- Water the plants well after transplanting, making sure the soil is evenly moist. Avoid overwatering as it can lead to rotting of the bulbs.
By following these steps, you can ensure a successful transition for your amaryllis bulbs from indoor to outdoor growing. With proper care and attention, your amaryllis plants will thrive and reward you with stunning blooms.
| Transplanting Amaryllis Outside | ||
|---|---|---|
| 1. Gradually acclimate plants to outdoor environment | 6. Water well after transplanting | 11. Enjoy beautiful blooms! |
| 2. Choose a suitable location in the garden | 7. Provide appropriate care and maintenance | |
| 3. Prepare well-draining soil | 8. Ensure soil is evenly moist | |
| 4. Plant bulbs with neck deep in the soil | 9. Avoid overwatering | |
| 5. Space bulbs 12 to 15 inches apart | 10. Promote healthy growth |

“Transplanting amaryllis bulbs outside allows them to thrive and bloom naturally in a garden environment.”
Tips for Growing Amaryllis Outdoors.
When it comes to growing amaryllis bulbs outdoors, there are a few key tips to keep in mind. By following these guidelines, you can ensure that your amaryllis plants thrive and produce beautiful blooms year after year.
1. Choose a Suitable Location: Select a spot in your garden that offers partial shade and has well-draining soil. Amaryllis plants prefer these conditions to ensure optimal growth and blooming.
2. Planting Depth: When planting amaryllis bulbs, make sure to position them with the neck deep in the soil, leaving the top third of the bulb exposed above the soil level. This planting technique allows for proper anchoring and encourages healthy growth.
3. Watering: After planting, water the amaryllis plants thoroughly to help establish their root system. During the growing season, keep the soil moist but avoid overwatering, as this can lead to root rot.
4. Feeding: Provide your amaryllis plants with a balanced fertilizer as needed during the growing season. This will supply them with the necessary nutrients for healthy foliage and abundant blooms.
5. Mulching: Mulch around the base of your amaryllis plants to conserve moisture and suppress weed growth. This will help maintain a favorable growing environment and reduce the need for frequent watering and weeding.
6. Dividing and Separate: If your amaryllis plants become overcrowded, gently dig them up and separate the bulbs. This will allow each bulb to have enough space to grow and bloom effectively.
7. Proper Care and Maintenance: Ensure that you provide your amaryllis plants with regular care and maintenance. This may include pruning faded flowers, supporting tall stalks, and protecting the bulbs during harsh winter conditions.

By following these tips for growing amaryllis outdoors, you can create a vibrant and thriving garden filled with spectacular blooms. Enjoy the beauty and rewards of nurturing these stunning plants in your outdoor space.
Overwintering Amaryllis Bulbs.
If you live in an area with cold winters, it is important to protect your amaryllis bulbs during the winter months. After the flowers have faded, cut the whole stem off as close to the base as possible. The plant may grow and bloom again. When blooming is complete, the plant will produce foliage. It is important to feed the plant at this stage to nourish the bulb for next year’s flowering. If there is no risk of frost, you can put your amaryllis outside for the spring and summer months. Place it in a sheltered spot with partial shade and water it sparingly, without letting the soil dry out completely. When the leaves start to die down, reduce watering until the compost is only slightly moist. In autumn, bring the amaryllis bulbs back inside and begin the cycle again.
If you live in an area with cold winters, it is important to protect your amaryllis bulbs during the winter months. After the flowers have faded, cut the whole stem off as close to the base as possible. The plant may grow and bloom again. When blooming is complete, the plant will produce foliage. It is important to feed the plant at this stage to nourish the bulb for next year’s flowering. If there is no risk of frost, you can put your amaryllis outside for the spring and summer months. Place it in a sheltered spot with partial shade and water it sparingly, without letting the soil dry out completely. When the leaves start to die down, reduce watering until the compost is only slightly moist. In autumn, bring the amaryllis bulbs back inside and begin the cycle again.
If you live in an area with cold winters, it is important to protect your amaryllis bulbs during the winter months. After the flowers have faded, cut the whole stem off as close to the base as possible. The plant may grow and bloom again. When blooming is complete, the plant will produce foliage. It is important to feed the plant at this stage to nourish the bulb for next year’s flowering. If there is no risk of frost, you can put your amaryllis outside for the spring and summer months. Place it in a sheltered spot with partial shade and water it sparingly, without letting the soil dry out completely. When the leaves start to die down, reduce watering until the compost is only slightly moist. In autumn, bring the amaryllis bulbs back inside and begin the cycle again.
Propagating Amaryllis Bulbs.
If you find that your amaryllis plants have become overcrowded or you simply want to increase the number of bulbs in your garden, propagating them through division and separation is a great option. By following these simple steps, you can successfully propagate your amaryllis bulbs and enjoy an even more vibrant display:
- Carefully dig up the clumps of amaryllis bulbs, taking care not to damage the roots.
- Separate the bulbs, making sure each bulb has some roots attached.
- Replant the bulbs in suitable locations in your garden or in containers.
- Follow the same planting and care instructions as mentioned earlier.
It’s important to note that it may take a couple of years before the newly propagated bulbs produce their first flowers. But with patience and proper care, you’ll be rewarded with a beautiful display of amaryllis blooms.
Benefits of Propagating Amaryllis Bulbs
Propagating amaryllis bulbs has several benefits:
- Increases the number of bulbs in your garden, creating a larger and more impressive display.
- Allows you to share the joy of amaryllis blooms with friends and family by gifting them newly propagated bulbs.
- Helps rejuvenate overcrowded plants, promoting healthier growth and better blooming.
So why not give it a try and propagate your amaryllis bulbs? It’s a rewarding and enjoyable process that adds beauty and vibrancy to your garden.
Remember, patience is key when propagating amaryllis bulbs. It may take some time before you see the full results, but the wait will be worth it when you witness the stunning blooms of your propagated plants.
| Benefits of Propagating Amaryllis Bulbs | Steps to Propagate Amaryllis Bulbs |
|---|---|
| Increases the number of bulbs | Carefully dig up the clumps of amaryllis bulbs |
| Allows sharing of bulbs with others | Separate the bulbs, ensuring each has roots attached |
| Rejuvenates overcrowded plants | Replant the bulbs in suitable locations |
Conclusion.
I have shown you that growing Amaryllis in your garden can be a rewarding experience. By following the right care and maintenance techniques, such as choosing a suitable location with partial shade and well-draining soil, your Amaryllis plants can thrive and produce vibrant blooms year after year. Whether you are planting new bulbs or transplanting forced plants, remember to provide them with enough water, regular feeding, and a layer of mulch to conserve moisture. Overwintering the bulbs and propagating them through division and separation are also viable options for expanding your Amaryllis collection.
With all the necessary steps in mind, you can confidently embark on your Amaryllis gardening journey. Enjoy the beauty and elegance these flowers bring to your outdoor space, and be rewarded with their breathtaking blooms.
I hope this guide has been helpful in providing you with insights on growing Amaryllis in your garden. With proper care and attention, you can create a stunning display of these spectacular flowers to enhance your outdoor scenery. Remember to consider the specific needs of Amaryllis, from transplanting to maintaining the bulbs, and enjoy the vibrant burst of color they bring to your garden.


