Landscaping with timbers is a popular and easy way to create an attractive garden border with wood. Landscape timbers, which are long pieces of pressure-treated wood, can be used to create a natural-looking frame for flower beds or perennial gardens. They come in various shapes and sizes, such as square-edged, oval, rounded, or with square bottoms and rounded tops. It’s important to choose pressure-treated landscape timbers that are ground-contact rated to prevent premature rot. To create a garden border with wood, you’ll also need some tools and materials, including stakes, mason’s line, hand sledge or hammer, hand edger, shovel, garden hoe or steel rake, level or straight board, tape measure, pencil, saw, drill and bits, protractor, landscape fabric and staples (optional), galvanized corner braces, galvanized mending plates, 2-inch galvanized deck screws, and #3 rebar (optional).
Key Takeaways:
- Landscaping with timbers offers an easy and attractive way to create a garden border with wood.
- Pressure-treated landscape timbers are essential to prevent premature rot.
- Tools and materials needed include stakes, mason’s line, hand sledge or hammer, hand edger, shovel, garden hoe or steel rake, level or straight board, tape measure, pencil, saw, drill and bits, protractor, landscape fabric and staples (optional), galvanized corner braces, galvanized mending plates, 2-inch galvanized deck screws, and #3 rebar (optional).
Marking Out the Border
The first step in creating a beautiful garden border with wood is to mark out the edges of your border. This is where you get to unleash your creativity and design a border that suits your garden style and personal taste. To start, gather a few simple tools and materials: a builder’s line or string, stakes, a hand edger or spade, and, of course, your trusty garden gloves.
Begin by driving a stake into the ground at one end of the border. Make sure it’s firmly planted, as it will serve as an anchor for your string. Take your builder’s line or string and tie it securely to the stake. Then, walk to the other end of the border and drive another stake into the ground. Attach the string to this stake, making sure it’s pulled taut and aligned with your desired border line. This string will act as your guide when marking out the border.
Once the string is in place, it’s time to start marking out your border. Use a hand edger or a flat spade to slice through the turf or other plantings just under the string, starting at one end and working your way to the other. Take your time and make precise cuts to create a clean and well-defined edge. As you go, remove any grass or plants that fall outside of the marked area, keeping the border line clear. This will ensure a neat and professional-looking design.
Tip: Experiment with different shapes and curves to add interest to your garden border design. You can create gentle curves or sharp angles, depending on the overall look you want to achieve.
Remember, this is your chance to let your creativity shine. Don’t be afraid to try different ideas and make adjustments along the way. The goal is to create a border that complements your garden and adds visual appeal to your outdoor space. Take inspiration from gardening magazines, online resources, or even your neighbor’s garden to get ideas for different border styles and designs.
Creating a Garden Border with Wood: Step-by-Step
- Prepare the ground and remove any obstacles or debris.
- Mark out the border’s edges using a builder’s line or string.
- Use a hand edger or spade to slice through the turf along the marked line.
- Remove any excess grass or plants outside of the marked area.
- Continue the process until the entire border is marked out.
Now that you’ve marked out your garden border, it’s time to move on to the next step: preparing the ground. This step is crucial for ensuring a sturdy and long-lasting border that will withstand the test of time. Stay tuned for the next section, where we’ll guide you through preparing the ground for your beautiful wood garden border.
Preparing the Ground
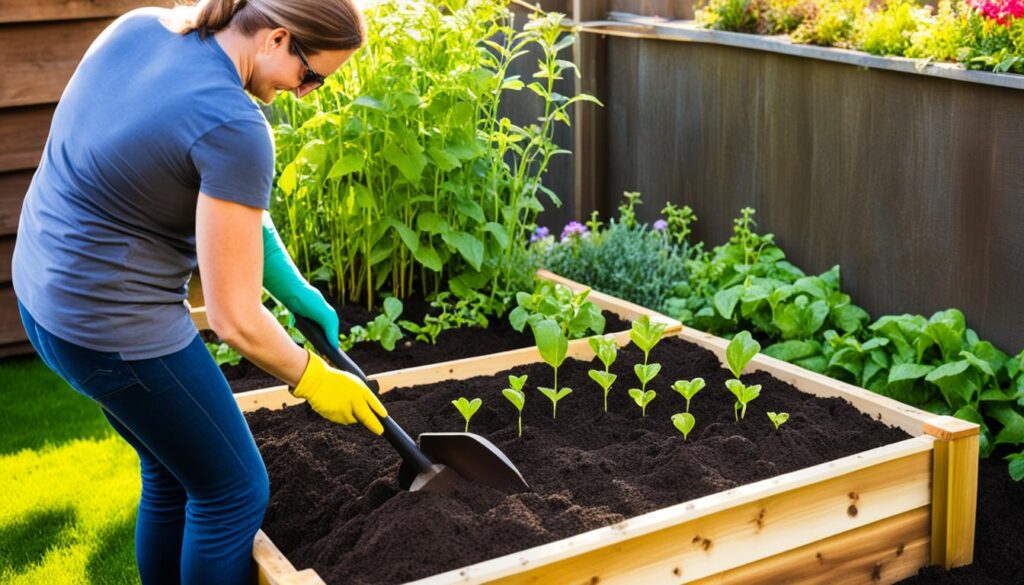
Before installing the landscape timber edging, it’s important to prepare the ground along the border area. This will ensure a stable foundation for your wood landscape edging and help it last longer. Here are some steps to follow when preparing the ground for your garden border:
- Clear the area: Start by removing any rocks, roots, or other obstructions from the ground. Use a shovel, steel rake, or garden hoe to loosen the soil and make it easier to remove these debris.
- Pack the soil: Walk over the loosened soil to pack it down and create a firm base. This will help prevent the ground from shifting once the wood edging is in place. Add some additional soil as needed to bring the area up to the proper level.
- Level the ground: Use a level or a straight board to ensure that the ground is level with the surrounding area. This will help create a seamless transition between the garden border and the rest of your landscape.
- Optional: Install landscape fabric: If you want to prevent weed and grass growth under the edging, you can choose to install landscape fabric. Simply lay it down over the prepared ground before installing the wood edging. Secure the fabric in place with landscape fabric staples.
By taking the time to properly prepare the ground for your wood landscape edging, you’ll be setting a solid foundation for a beautiful and long-lasting garden border.

Installing the Landscape Timbers
Now that you have marked out the border and prepared the ground, it’s time to install the landscape timbers for your wood garden edging. Follow these steps to ensure a secure and visually appealing garden border design.
- Lay out the landscape timbers along the full length of the edging, positioning them accurately along the edging line.
- Butt the ends of the timbers together, ensuring a seamless and cohesive look for your garden border.
- If the final straight piece will be shorter than about 2 feet, consider shifting the entire row of timbers so that the two ends will have cut pieces of roughly equal length. This will create a balanced and aesthetically pleasing appearance.
- Join neighboring timbers by using pairs of galvanized mending plates and 2-inch deck screws. This will provide stability and prevent the timbers from shifting over time.
- For 90-degree turns, cut additional straight pieces and join them at each corner with galvanized corner braces and screws. This will ensure structural integrity for your garden border.
- If you have turns that are not at a 90-degree angle, use a protractor to mark and cut angled ends on the timbers. Secure these angled ends to maintain a consistent and harmonious flow along your garden border design.
- If desired, you can further secure the timber border to the ground by using rebar. This will prevent any movement or shifting of the edging over time, especially in areas with softer soil or heavy foot traffic.
| Materials | Tools |
|---|---|
|
|
|
With these steps and materials, you can confidently install the landscape timbers for your wood garden edging. This will create a polished and functional garden border design that enhances the overall aesthetic of your outdoor space.
Finishing Touches
Once the wood edging is installed, you can add the final touches to create a stunning garden border. These simple additions will enhance the appearance of your outdoor space and give it a polished look.
Add Mulch or Gravel
One way to enhance the garden border is by adding mulch or gravel to the bed area beyond the edging. This not only provides a clean and finished look but also helps suppress weed growth, allowing your plants to thrive. Choose a mulch or gravel that complements the overall design of your garden.
Stain or Paint the Wood
To match your desired aesthetic and protect the wood from the elements, consider staining or painting the wood edging. This not only adds a touch of color but also helps extend the lifespan of the wood. Choose a stain or paint that is specifically formulated for outdoor use and is compatible with wood.
Add Plants or Flowers
To further enhance the beauty of the garden border, consider adding plants or flowers along the edge. This will create a seamless transition between the wood edging and the rest of your garden. Choose plants that are suitable for the specific growing conditions of your garden and complement the overall design.
| Finishing Touches | Benefits | Examples |
|---|---|---|
| Add Mulch or Gravel | – Suppresses weed growth – Enhances visual appeal – Provides a finished look |
|
| Stain or Paint the Wood | – Adds a touch of color – Protects the wood from the elements – Extends the lifespan of the wood |
|
| Add Plants or Flowers | – Creates a seamless transition – Enhances the overall beauty – Adds a touch of nature |
|
By implementing these finishing touches, you can elevate your wood garden border and create a simple yet beautiful landscape that evokes a sense of charm and elegance.
Benefits of Wood Garden Edging
Using wood as a garden border offers a variety of benefits that can transform the overall appearance and functionality of your outdoor space.
- Structure and Definition: Wood garden edging adds structure and definition to your garden, creating a tidy and organized look. It neatly separates different areas and helps establish boundaries between flower beds, pathways, and other landscape features.
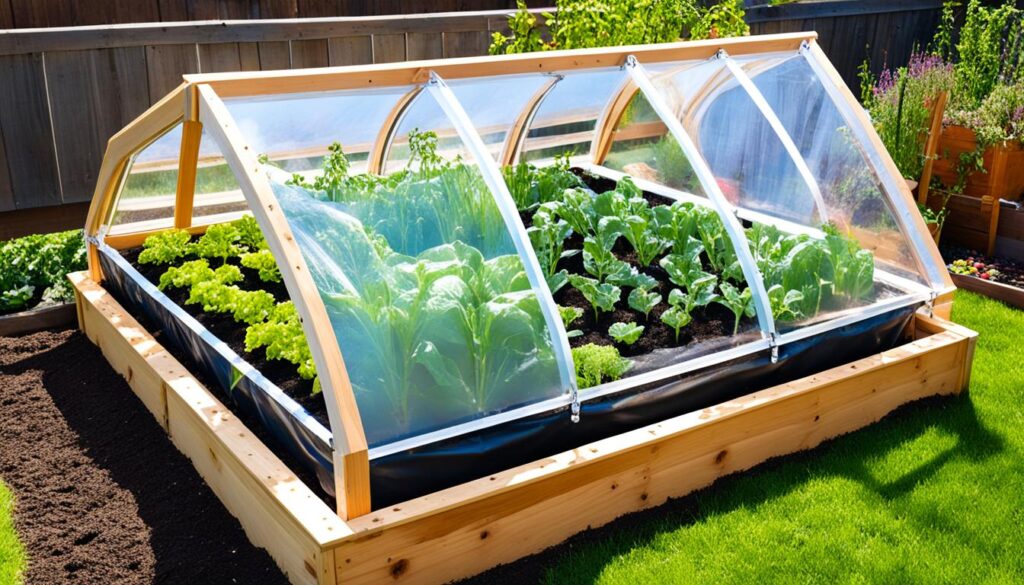
- Containment for Raised Garden Beds: Wood edging is particularly useful for raised garden beds, as it helps contain plants and soil within the designated area. This prevents them from spilling over onto pathways or other areas, keeping your garden neatly contained.
- Natural Integration: Wood is a natural material that blends seamlessly with the surrounding landscape. It creates a harmonious transition between the garden and lawn, enhancing the overall aesthetic appeal.
Enhancing Garden Structure
“Wooden garden borders add a sense of order and structure to outdoor spaces, creating a pleasing visual impact. They define specific areas, making it easier to maintain and care for different types of plants and flowers.” – Gardening Expert
| Benefits of Wood Garden Edging |
|---|
| Adds structure and definition |
| Contains plants and soil in raised garden beds |
| Natural integration with the surrounding landscape |

With its ability to enhance garden structure and harmonize with the landscape, wood garden edging is both functional and visually appealing. It offers a natural and versatile solution for creating beautiful garden borders.
Maintenance and Longevity
Proper maintenance is key to ensuring the longevity of your wood garden edging. By taking regular care of your garden border, you can extend its lifespan and keep it looking beautiful for years to come.
Here are some essential maintenance tips:
1. Regular Inspections
Regularly inspect your garden border for any signs of rot or damage. Check the landscape timbers for cracks, splitting, or warping. If you notice any deteriorated timbers, replace them promptly to prevent further damage.
2. Protective Finish
Applying a protective finish to your wood garden edging can help shield it from water damage and UV exposure. Consider using a penetrating oil stain, which not only protects the wood but also enhances its natural beauty.
3. Pressure-Treated vs. Untreated Timbers
If you chose pressure-treated landscape timbers for your garden border, you can expect them to last for 15 to 20 years. However, untreated timbers may start to deteriorate after just a few years due to exposure to moisture and insects. Keep this in mind when selecting the type of timbers for your project.
Remember, by following these maintenance practices and promptly addressing any issues that arise, you can ensure the longevity and durability of your wood garden edging.

Tips and Considerations
When making a garden border with wood, there are a few tips and considerations to keep in mind. First, it’s important to choose the right type of landscape timber for your project. Opt for ground-contact rated and pressure-treated timber to prevent rot and ensure durability.
Next, plan the layout of the border carefully, taking into account the dimensions and angles needed for turns and corners. This will help you create a visually appealing and functional design.
Prior to installing the wood edging, take the time to properly prepare the ground. Clear any rocks, roots, or obstructions, and level the area to provide a solid foundation for the edging.
When installing the wood edging, make sure to use the appropriate tools and materials for the job. This may include stakes, a mason’s line, a hand sledge or hammer, a hand edger, a shovel, a garden hoe or steel rake, a level or straight board, a tape measure, a pencil, a saw, a drill and bits, a protractor, landscape fabric and staples (optional), galvanized corner braces, galvanized mending plates, 2-inch galvanized deck screws, and #3 rebar (optional).
Safety should also be a priority. Follow proper safety precautions when using tools and equipment, and wear protective gear such as gloves and safety goggles.
Once the wood garden border is installed, it’s important to regularly inspect and maintain it. Check for any signs of rot or damage, and address any issues promptly. This will help ensure the longevity and functionality of your garden border.
Enhancing Your Outdoor Space
Creating a garden border with wood can greatly enhance the overall appearance of your outdoor space. The natural beauty of wood adds warmth and character to the garden, while also serving a functional purpose. Whether used to define flower beds, create raised garden beds, or separate different areas of the landscape, a wooden garden border adds a touch of elegance and sophistication to your green space. With proper installation and maintenance, your wooden garden border can be enjoyed for years to come.
| Benefits of a Wooden Garden Border | Enhancing Your Outdoor Space |
|---|---|
|
|
I always wanted to create a distinct and beautiful garden border, and using wood was the perfect choice. The wooden border not only added structure and organization to my outdoor space but also enhanced the overall beauty of my garden. The natural warmth and character of the wood brought a sense of elegance and sophistication to the landscape. It was truly a transformative addition that elevated the entire look and feel of my green space.
With a wooden garden border, you have the freedom to express your personal style and design preferences. Whether you opt for a simple and clean look or a more intricate pattern, the versatility of wood allows you to create a border that perfectly suits your taste. Additionally, wood landscape edging is a durable and long-lasting option that can withstand the elements and stand the test of time.
Tips for Maintaining Your Wooden Garden Border
Proper maintenance is essential to ensure the longevity and beauty of your wooden garden border. Here are a few tips to keep in mind:
- Regularly inspect the wood for any signs of rot or damage.
- Apply a protective finish, such as a penetrating oil stain, to protect the wood from water damage and UV exposure.
- Remove any weeds or grass that may grow near the border to prevent them from undermining the structure.
- Keep the area around the border clean and tidy to maintain its aesthetic appeal.
By following these maintenance tips, you can ensure that your wooden garden border remains a beautiful and functional addition to your outdoor space for years to come.
Inspiration and Design Ideas
When it comes to designing your garden border with wood, the possibilities are endless. By choosing from various shapes and sizes of landscape timbers, you have the flexibility to create different patterns and arrangements that suit your unique style.
Consider adding curves or angles to your garden border to add visual interest and create a dynamic flow. Alternating straight sections with curved sections can create a stunning effect that draws the eye.
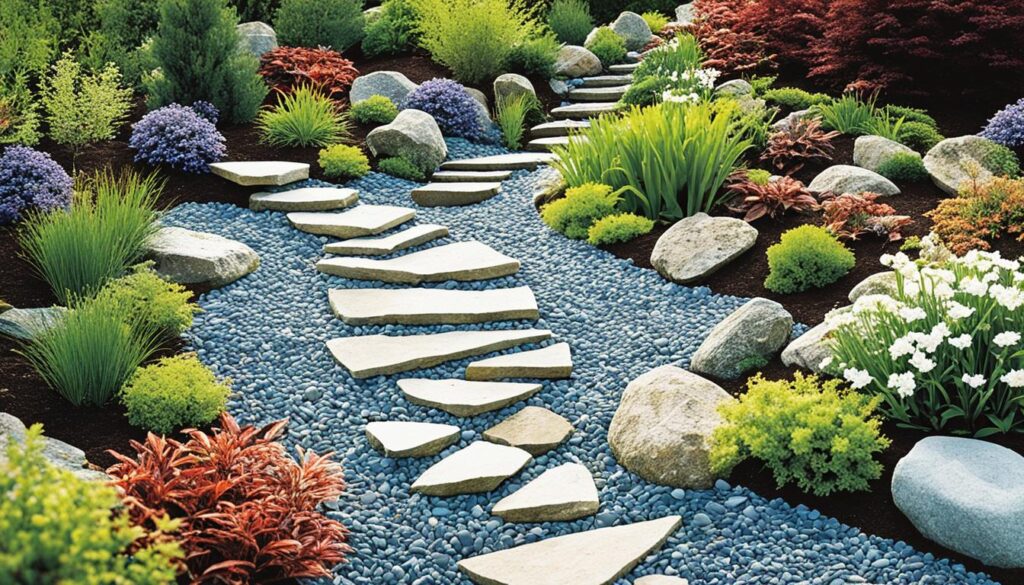
You can also enhance your wood garden border by incorporating other materials such as rocks, gravel, or plants. Mixing different textures and elements can bring depth and complexity to your design. For example, placing decorative rocks along the border or using gravel as a filler between timbers can add a touch of elegance and create a contrast with the natural wood.
For a more personalized touch, consider incorporating plants or flowers that complement your garden border. Choose species that thrive in your climate and have colors that harmonize with the overall aesthetic of your outdoor space.
Looking for inspiration? Explore gardening magazines, browse online resources, or consult with a professional landscaper for expert advice and creative ideas. They can help you understand the design principles and make recommendations based on your specific preferences and requirements. Remember, a well-designed garden border with wood can transform your outdoor space into a visually stunning and inviting haven.
Conclusion
Creating a garden border with wood is a fulfilling and straightforward do-it-yourself project that can transform your outdoor space. By following the steps outlined in this guide, you can create a stunning garden border that adds both beauty and functionality to your garden. Wood garden edging provides a natural and timeless look that complements any landscape design.
Whether you’re looking to define flower beds or create raised garden beds, wood edging offers versatility and charm. It provides structure and definition, giving your garden a tidy and organized appearance. With the right care and maintenance, your garden border with wood can last for years, adding an elegant touch to your green space.
Remember to choose pressure-treated landscape timbers that are ground-contact rated to ensure longevity. Properly prepare the ground for installation, and use the right tools and materials. Regularly inspect and maintain your garden border to prevent rot or damage. Consider adding finishing touches like mulch or staining the wood to enhance its appearance.
With your newly created wood garden edging, you can enjoy beautiful garden borders that elevate the aesthetic appeal of your outdoor space. Let your creativity flow and explore different garden border ideas to personalize your design. Embrace the natural beauty of wood and discover how it can transform your garden into a stunning visual masterpiece.


